Where
POS → Counts
Start and finish on the web POS.

Getting Started with Rundoo · Inventory
Set up on the desktop, scan the aisle with your phone, and true up your on-hand.
You know your store better than anyone, so you know the moment the number in the system and the boxes on the shelf stop agreeing. An inventory count is how you true that back up, and Rundoo lets you do it without closing up shop or wrestling with a clipboard. The trick is that it spans two screens: you set the count up at the desk on the web POS, you walk the aisle scanning on your phone, and you come back to the desk to review and finish. This guide walks that whole loop.
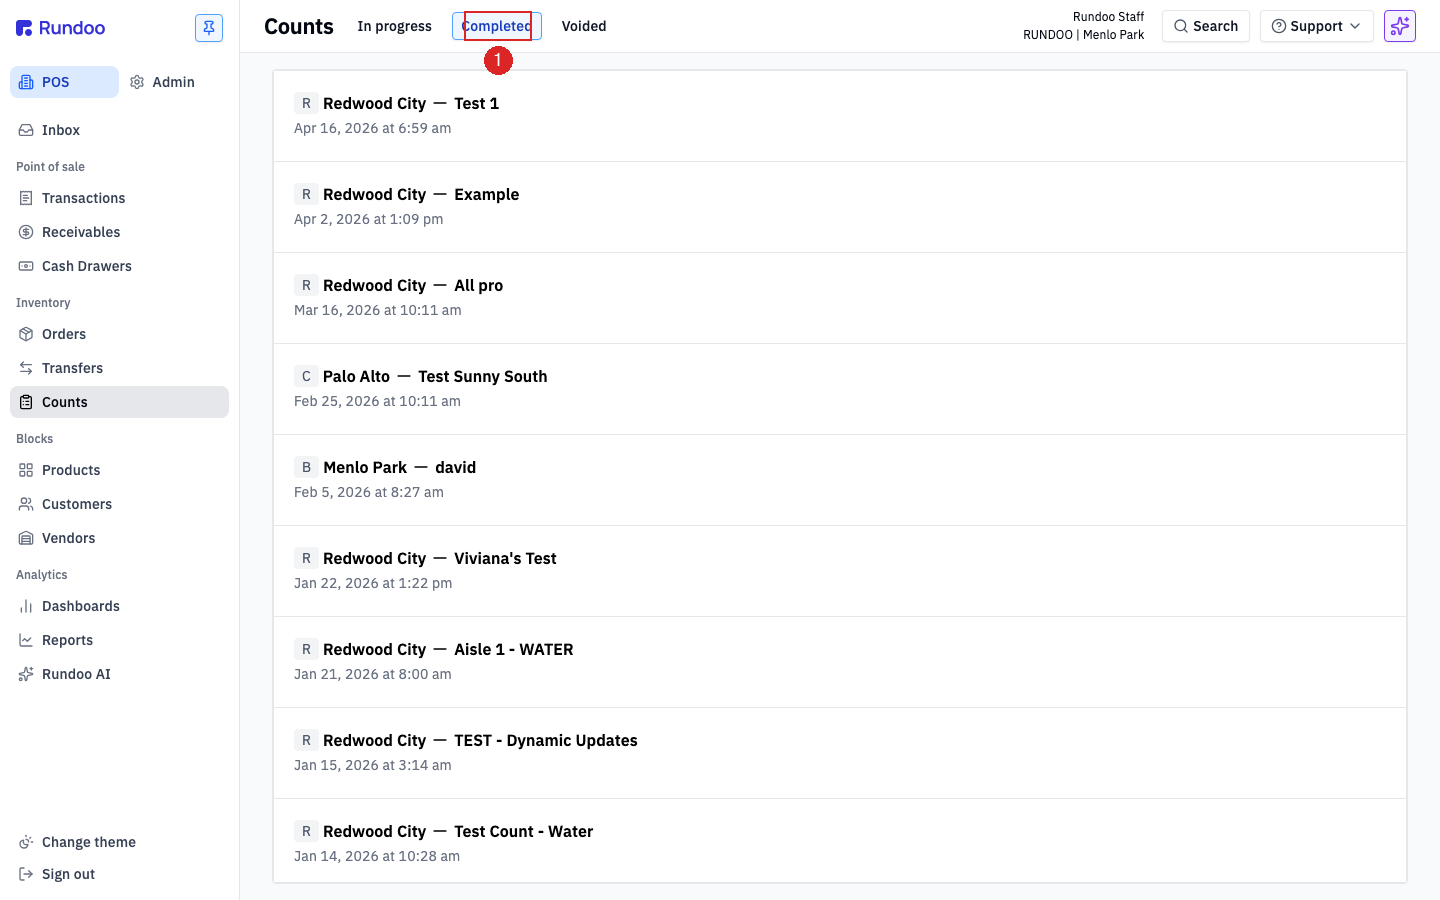
In Point of Sale mode, open the Counts tab on the left. Every count you have ever run lives here, split by a top-tab strip: In progress, Completed, and Voided. The Completed tab is your running history, each count listed with its location, name, and the time it was committed.
Flip to the In progress tab and click Start new inventory count in the top-right. That opens the New inventory count window, where you pick the location and give the count a clear name like "Aisle 4 – Adhesives" so future-you knows what it was.
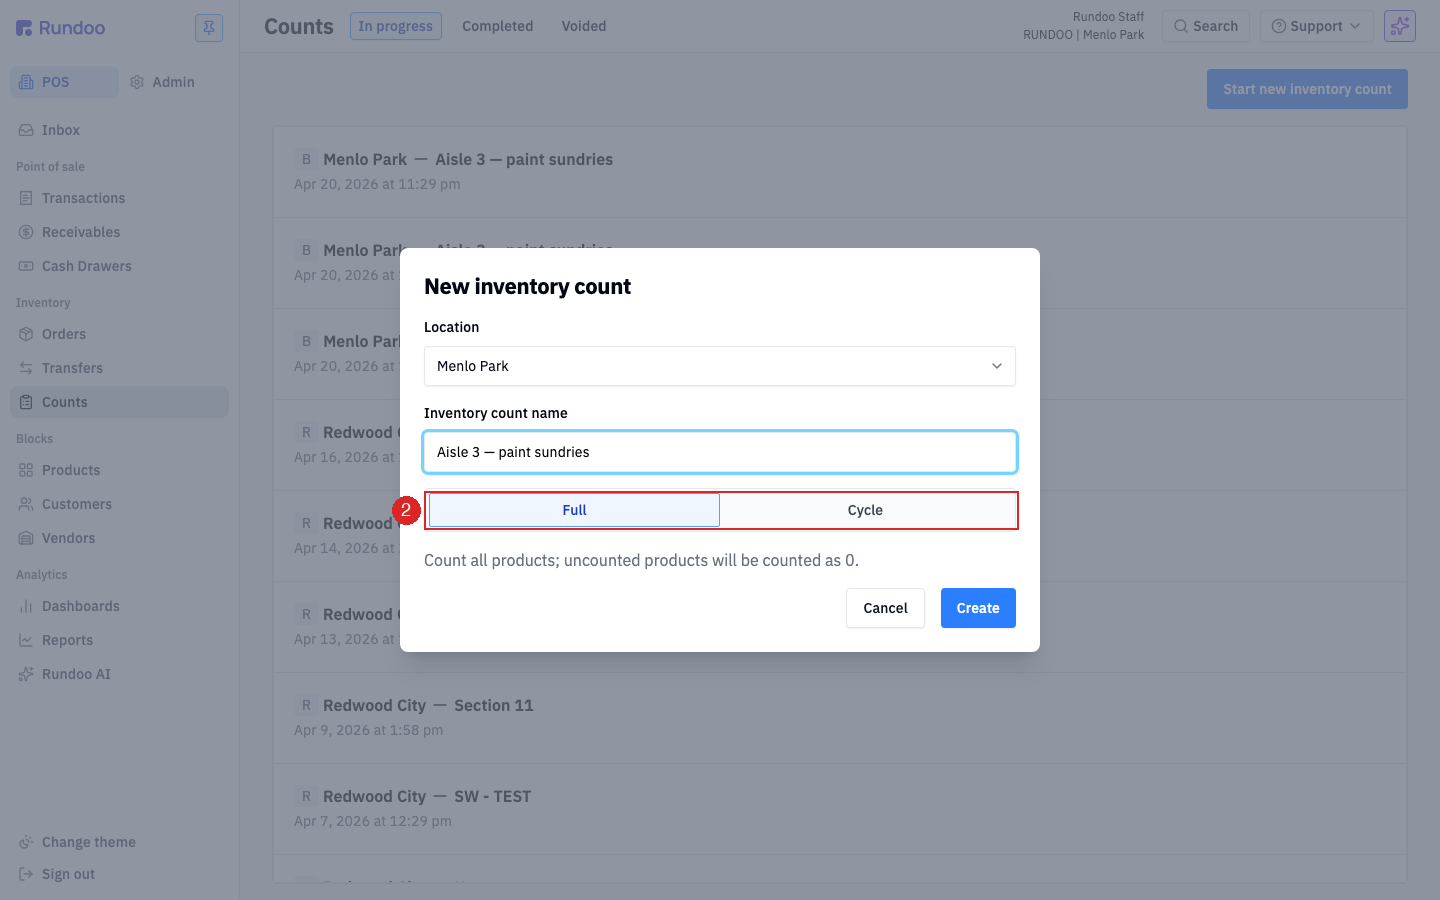
This is the one choice to get right. A Full count is a wall-to-wall, every-shelf reconciliation, the kind you do at end of year. Handle it with care: Rundoo counts any product you do not touch as 0 and writes it down to zero when you finish. For almost everything else, choose Cycle. A Cycle count only reconciles the products you add, so you can walk one aisle, one vendor, or one department and leave the rest of the store untouched. Click Create to drop into the count.
On a Cycle count the list starts empty, so you build it with Add products in the top-right. Search for specific items, or pull in a whole vendor or category to grab a shelf at once. (On a Full count every active product is already waiting for you in To count, so there is nothing to add.) Anything that turns up on the shelf but was not expected can be added the same way, and it comes in with an Expected of 0 so whatever you count is pure variance.
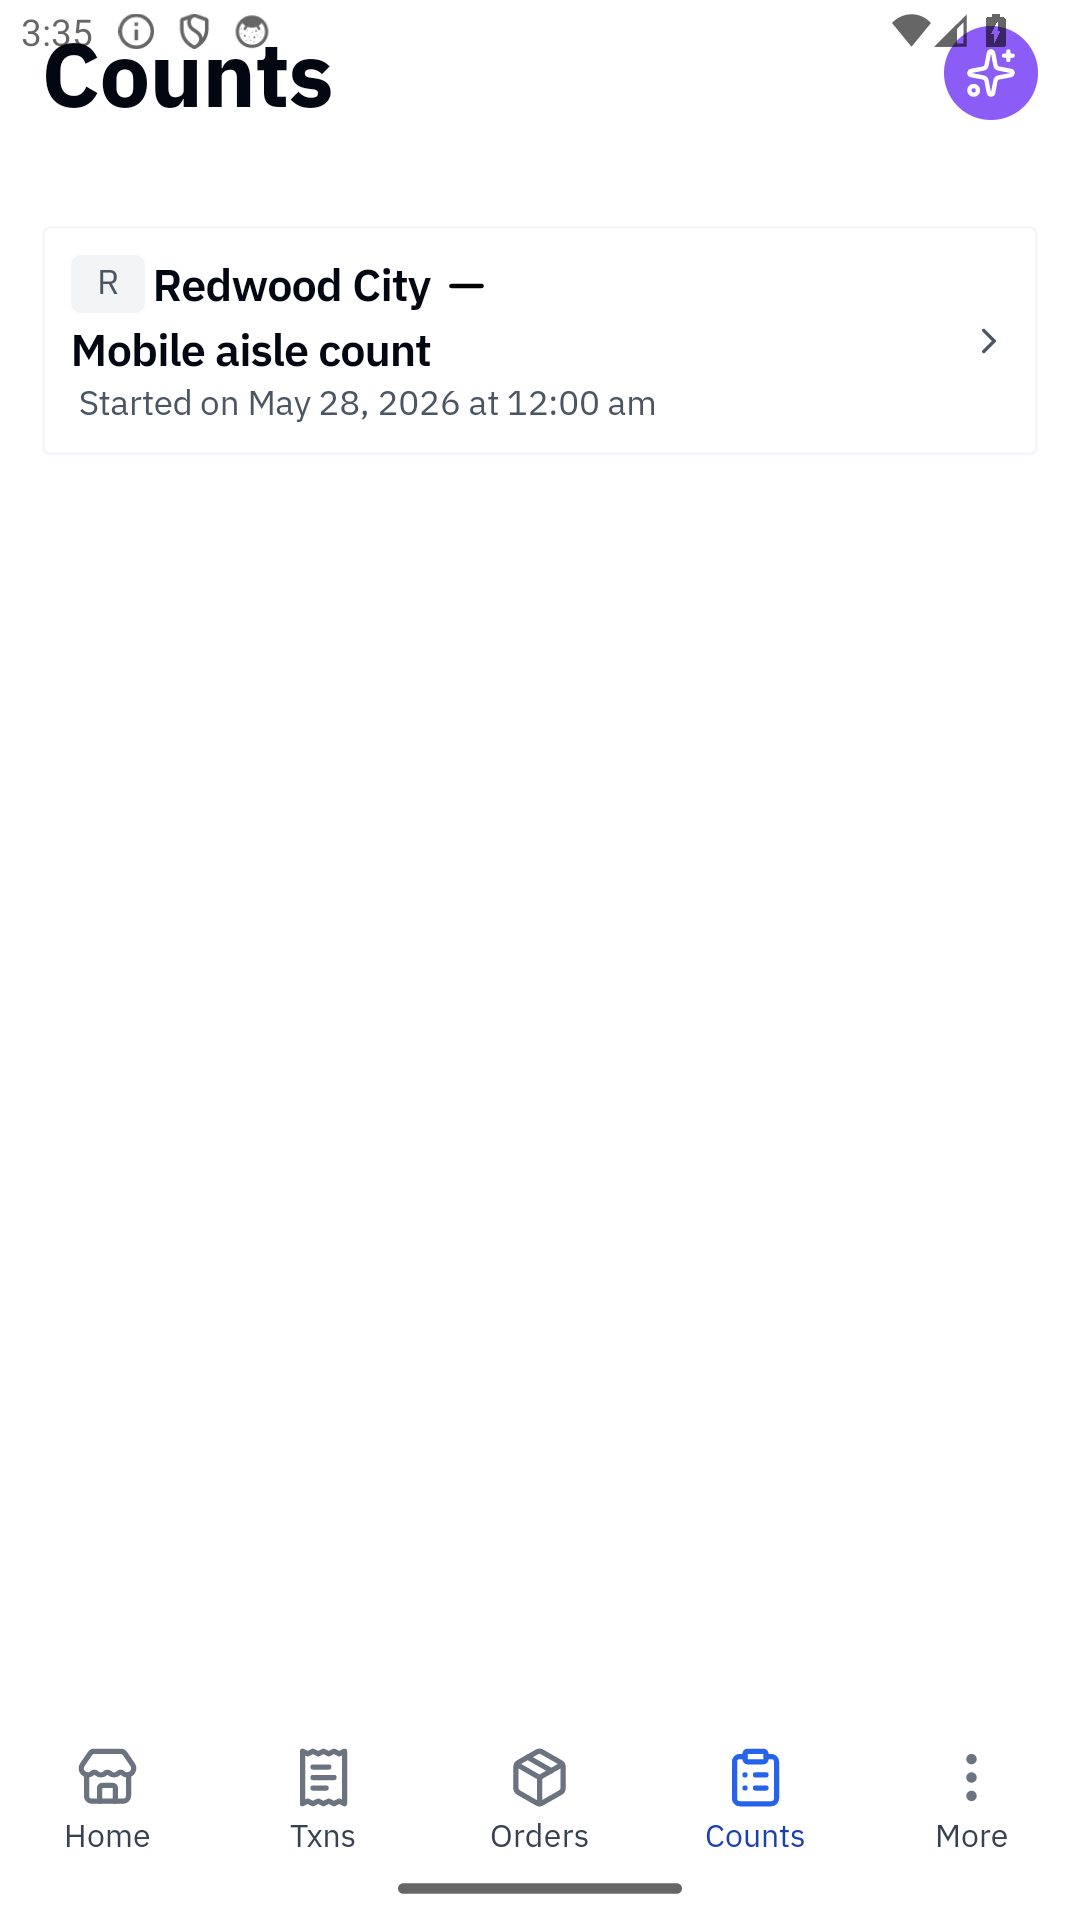
Now leave the count open at the desk, grab your phone, and go to the shelf. Open the Rundoo POS app and tap the Counts tab at the bottom. The count you just started is right there under In progress. Tap to open it and start scanning: each scan lands the product on the Counted list, and scanning the same item again adds one more. The phone and the desk share the same count in real time, so what you scan in the aisle updates the numbers back in the office as you go.
Once the walk is done, head back to the web POS and open the Counted tab. Each row lays out five numbers: EXPECTED (what Rundoo thought was on hand), COUNTED (what you entered, still editable here), VARIANCE (counted minus expected, green if you found more, red if you are short), COST, and VARIANCE($) (the dollar impact). The Total Variance pill in the top-right rolls it all up. That total is your sanity check. Use the Notes box at the bottom to record why the numbers moved, like "found a misplaced case behind the display." Notes stay on the record for good.
The bottom-right cluster has three buttons in order of commitment. Void throws the count away and adjusts nothing. Save draft parks it in In progress so you can finish later. Complete is the real thing: it adjusts your on-hand by the variance on every counted row and posts a journal entry to your books for the dollar difference. This is one-way, there is no undo, so give the Total Variance one last look before you click. When you are ready, click Complete, confirm if Rundoo asks, and the count moves to Completed.
Where
POS → Counts
Start and finish on the web POS.
Scope
Full or Cycle
Cycle for one shelf; Full zeroes what you skip.
In the aisle
Rundoo POS app → Counts
Continue-only. Scan to count.
Finish
Complete
One-way: adjusts on-hand, posts to GL.
Good to know