Primary ID
Your main SKU
Unique across the whole company.

Getting Started with Rundoo · Setup
Add a new product and get it ready for the shelf.
Say a new shipment just landed on your dock. Before those boxes can hit the shelves, the items need to be in the system so you can start ringing them up. Good news: getting a product sellable in Rundoo takes just four fields. Everything else can wait until you have a minute.
In POS mode, open Products in the left sidebar. That's your filterable list of everything you stock. Up in the top-right corner sit the two buttons you'll use: Add product for adding items one at a time, and Import products for loading a whole catalog from a spreadsheet (that's its own video).
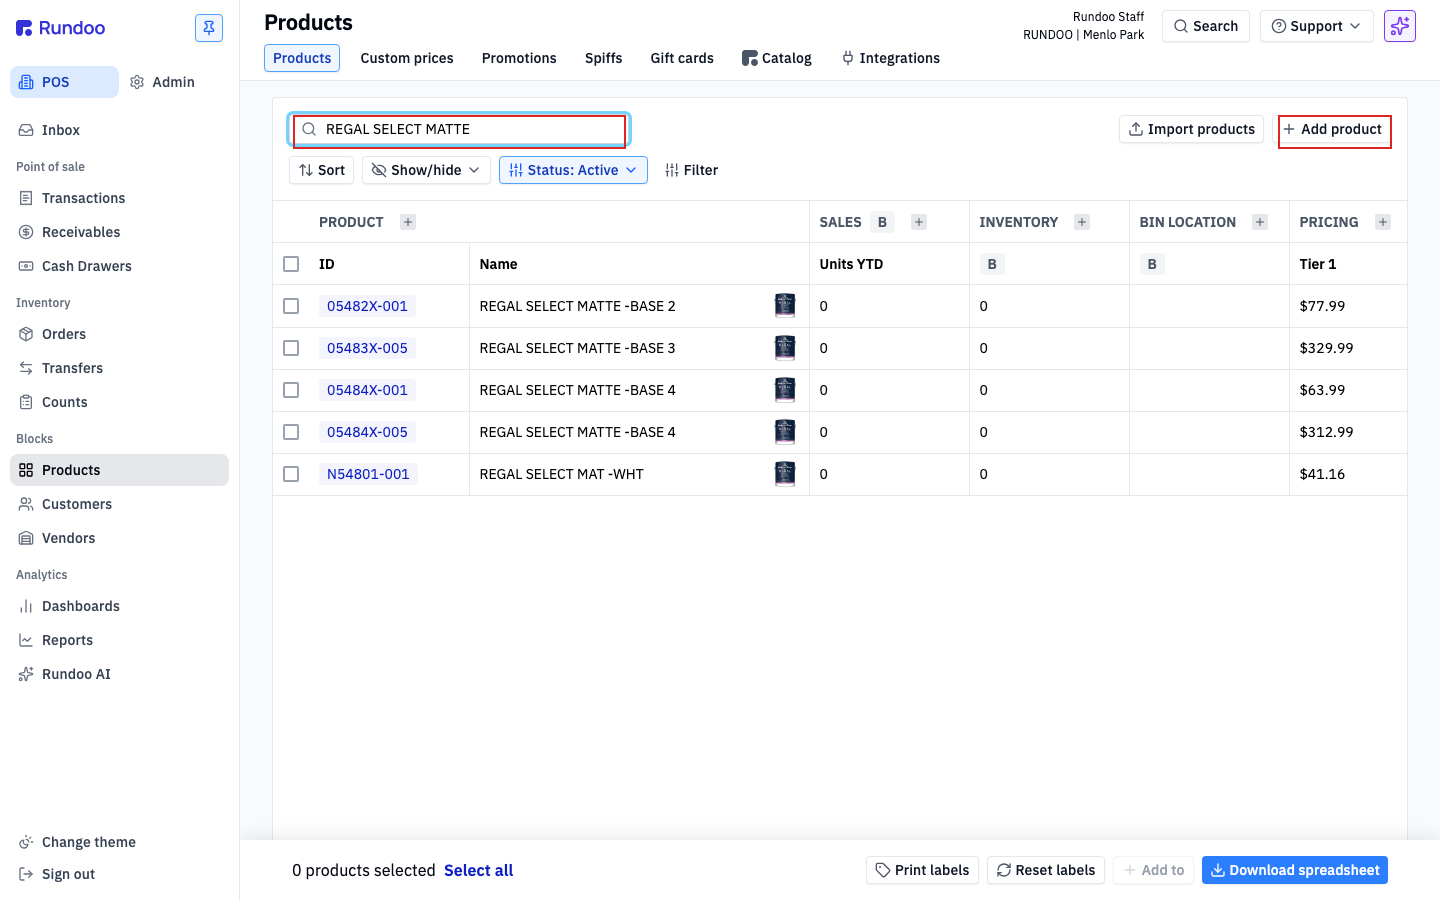
Click Add product in the top-right of the Products list. A small window opens with just the essentials. Everything richer (class, fineline, alternate units, custom prices) lives on the product's detail page and gets set after it exists, so don't go looking for it here.
These four are all it takes to make an item searchable and sellable:
Primary ID is your main SKU or part number, and it has to be unique across your whole company. Name is what shows up in search, on receipts, and on labels. Price Tier 1 is your main retail price, and it matters that you set it, because it starts at $0.00. Department is the top of your product taxonomy, the level reports and labels roll up to.
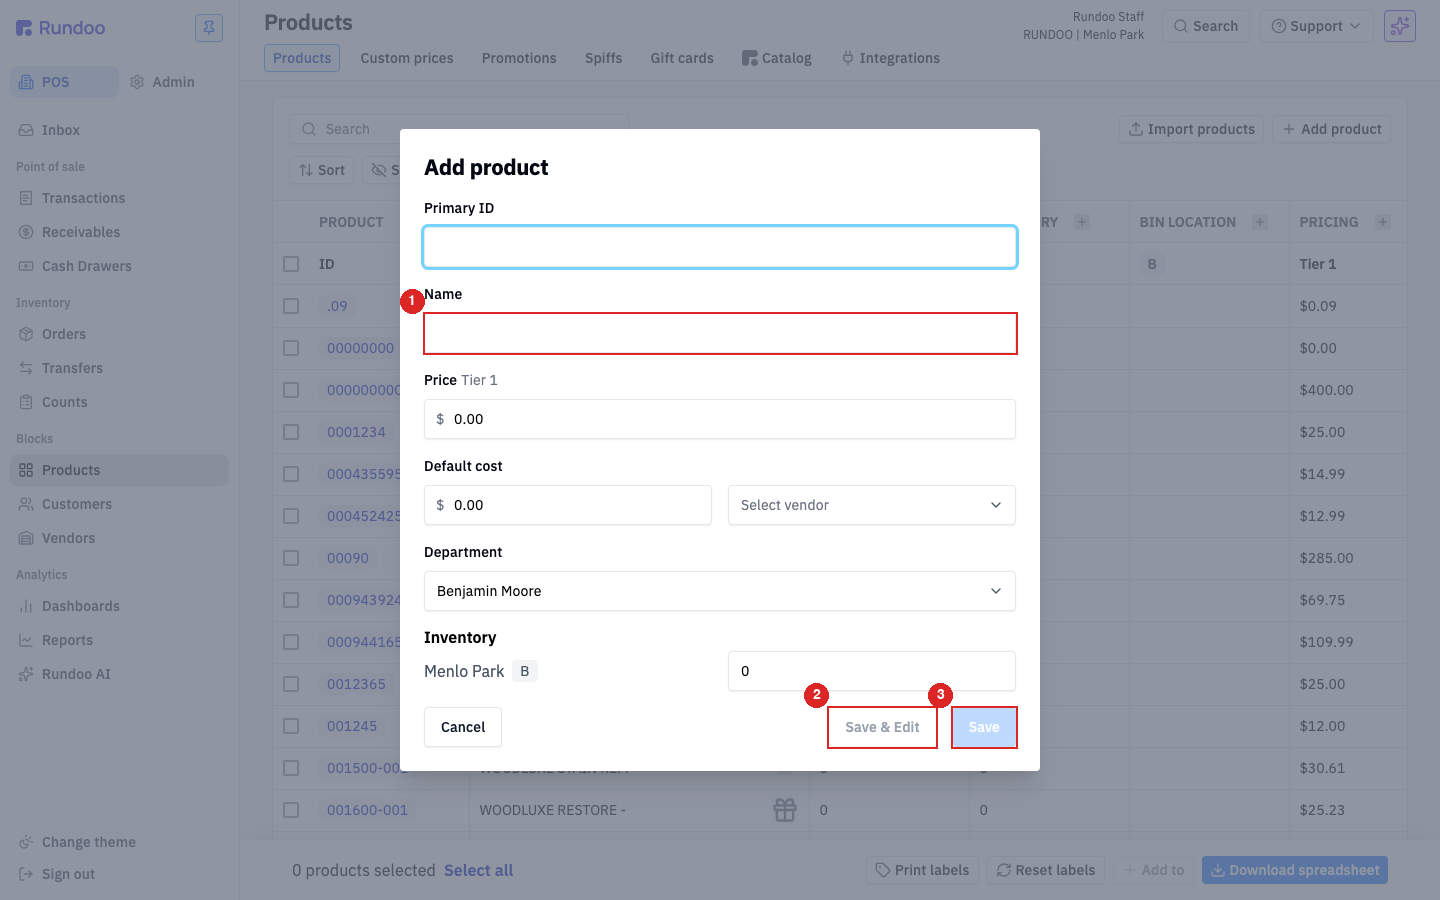
A few more fields on the same modal save you time later. Enter a Default cost so your margins stay accurate, pick a Select vendor so reordering knows where this comes from, and set a starting Inventory count so your on-hand is right from day one. You can also attach any Additional IDs (vendor codes or barcodes that should also find this item at the counter) and tag the product. None of these are required, and every one of them can be added later.
Three save buttons sit at the bottom. Save creates the product and closes the window, which is perfect when the fields above are all you need. Save & New saves and immediately reopens a blank form, handy when you're entering five or ten items by hand at the counter. And Save & Edit saves the product and drops you straight onto its full Settings tab.
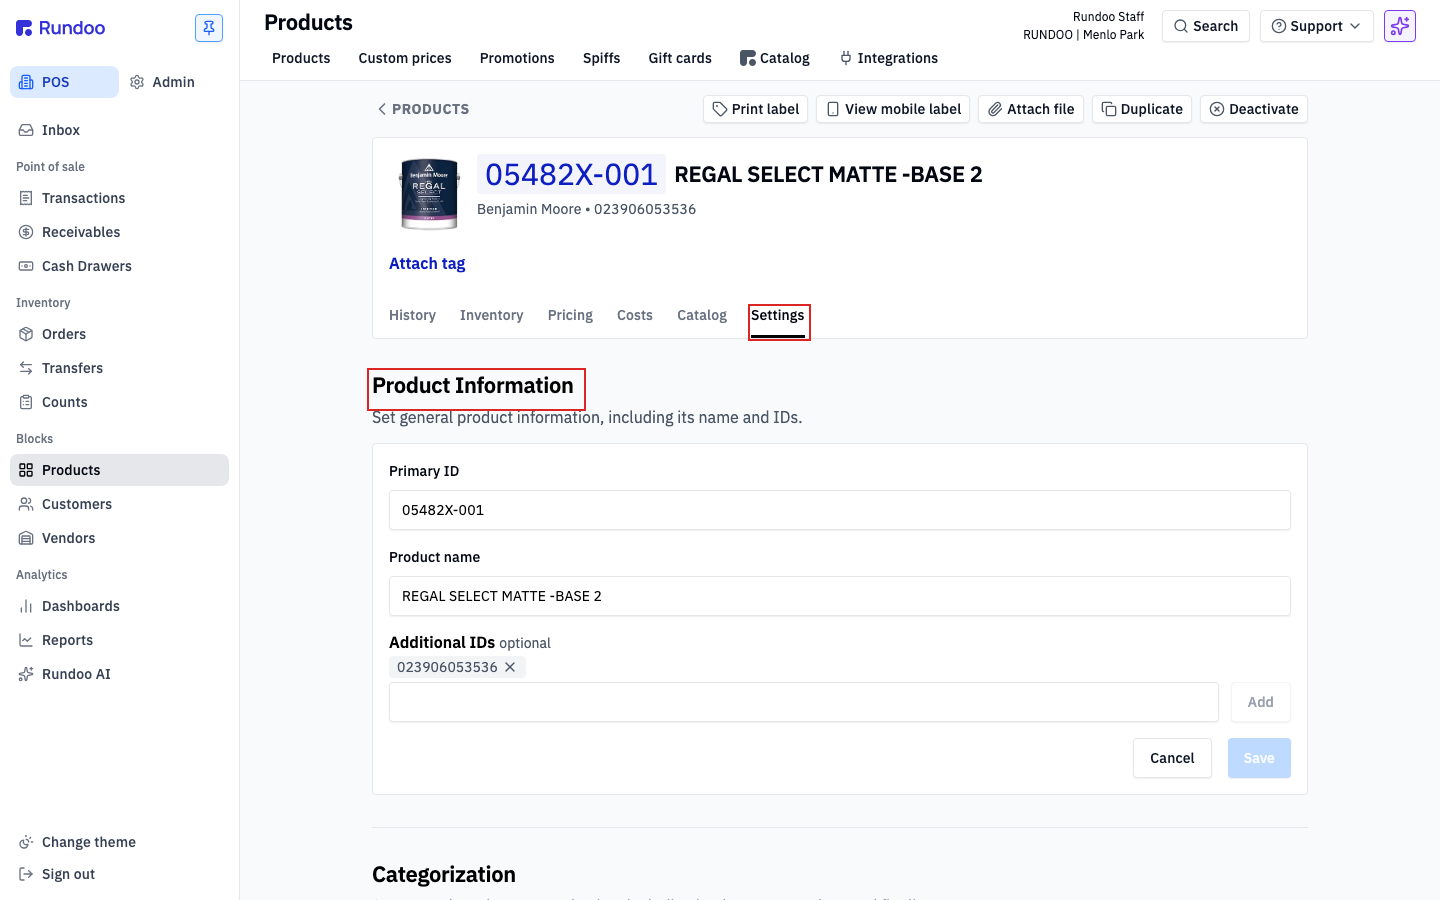
Need to add a Class and Fineline, set up different Units of measure, or add a UPC as an Additional ID? That's what Save & Edit is for. Class and Fineline in particular are not on the Add modal at all, they only live on the Settings tab under Categorization, so Save & Edit is your shortcut there.
Primary ID
Your main SKU
Unique across the whole company.
Name
What the customer sees
Shows in search, on receipts and labels.
Price Tier 1
Your retail price
Starts at $0.00, so be sure to set it.
Department
Top of the taxonomy
Reports and labels roll up here.
Good to know