Find the sale
Customers, then Transactions
Or use Search sales history / the header Search.

Getting Started with Rundoo · Transactions
Pull up the original sale, and let Rundoo fill in the rest.
A customer is back at the counter, and this time they've got something to bring back. The cleanest, most secure way to handle it is a linked return: you pull up the original ticket and let Rundoo carry over the item, the price they paid, and the tax. No guesswork, no math, and the customer's books line up on their own.
A linked return starts from the sale that is coming back, so your first move is to find that sale. In POS mode, open the Customers tab on the left, pull up the customer, and stay on their Transactions tab. Every completed sale is listed with its sale ID, PO, who rang it up, the date, and the total. Click the row for the sale being returned.
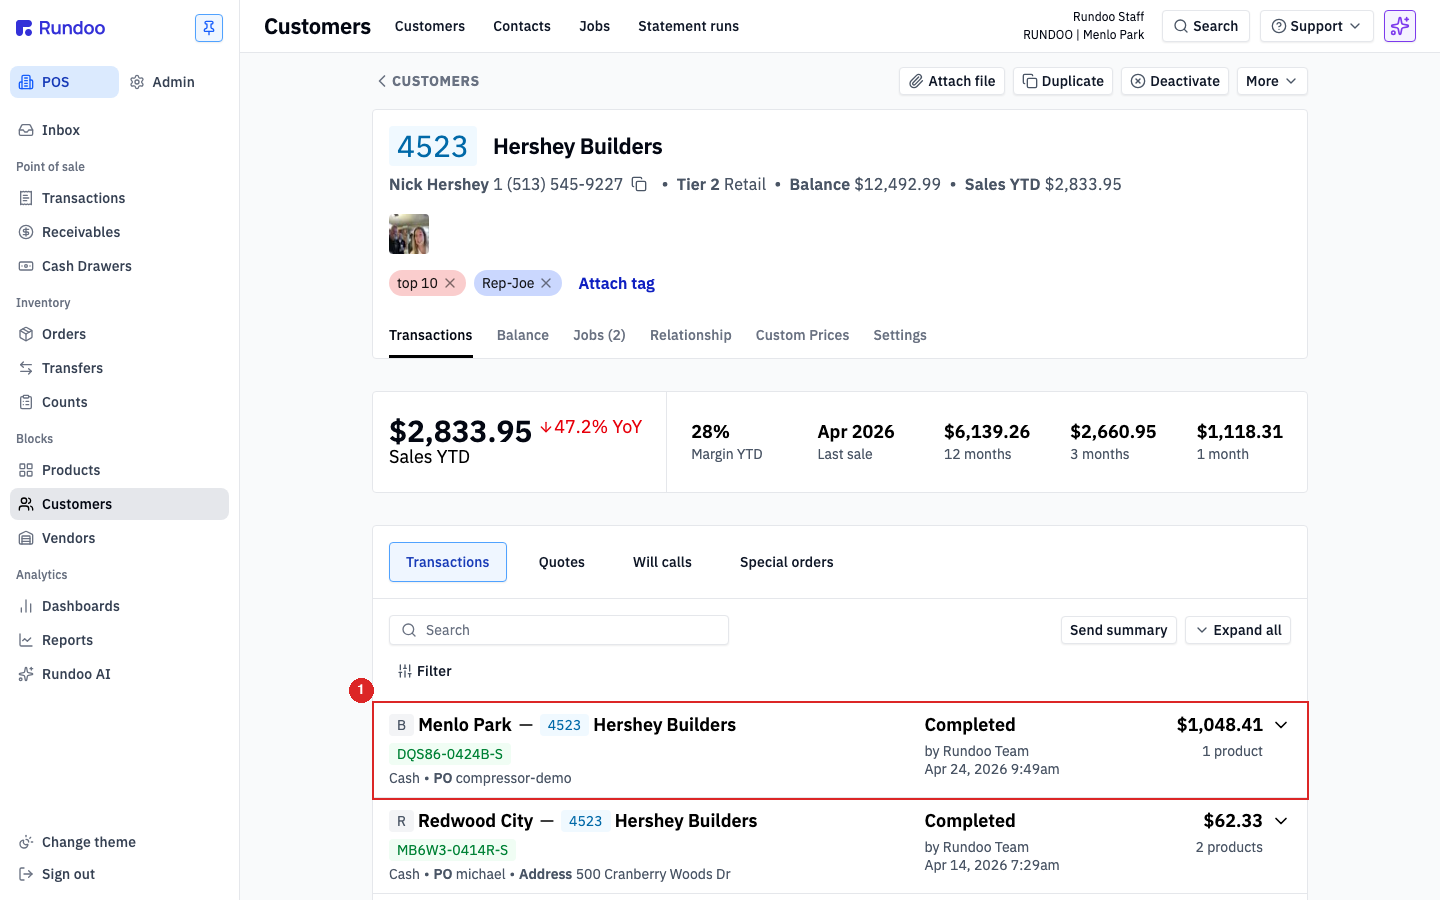
Can't spot it under the customer? The Search sales history button on their left panel casts a wider net, and the global Search button in the header finds a sale by its ID or amount when the customer gives you a number to go on.
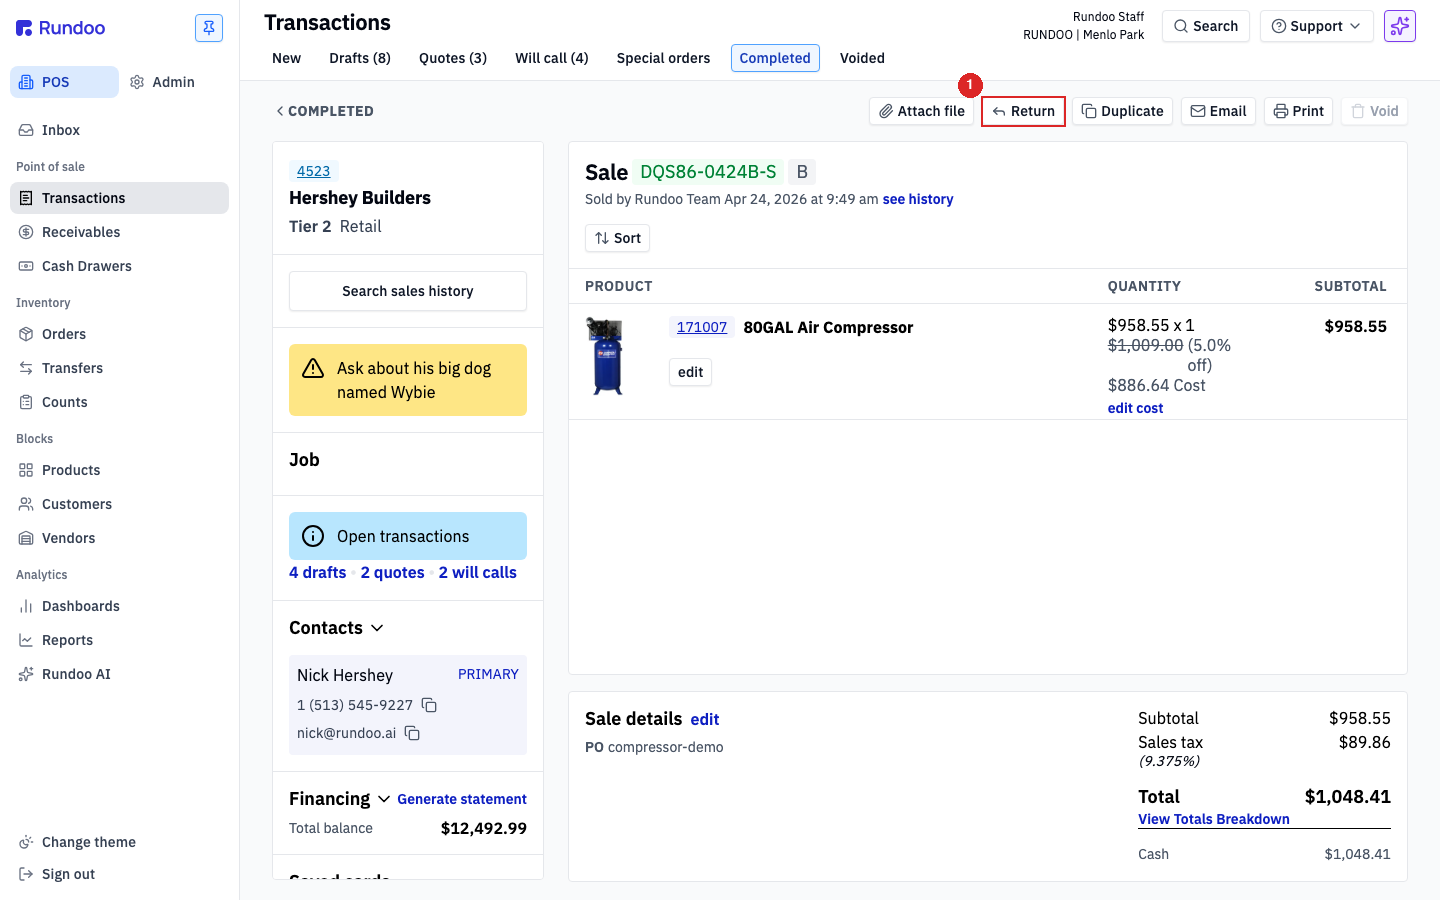
On the completed sale, look to the action cluster in the top-right corner: Attach file, Duplicate, Email, Print, Return, and Void. Click Return. Rundoo opens the return builder with the sale's lines already loaded, at the exact prices the customer paid.
Each line shows a stepper next to its original amount, like 1 of 1 or 5 of 12. Bump it to the amount actually coming back. As you do, Rundoo updates the Subtotal, Sales tax, and Total live and flips them negative, so you can watch the refund take shape.
Fill the Reason for return box with what is coming back and why, for example "Color did not match the swatch" or "Damaged on pickup." It is a free-text field, there is no dropdown of canned codes, and it prints on the return receipt and saves against the sale for your reports. A reason is required by default before Rundoo will let you finish.
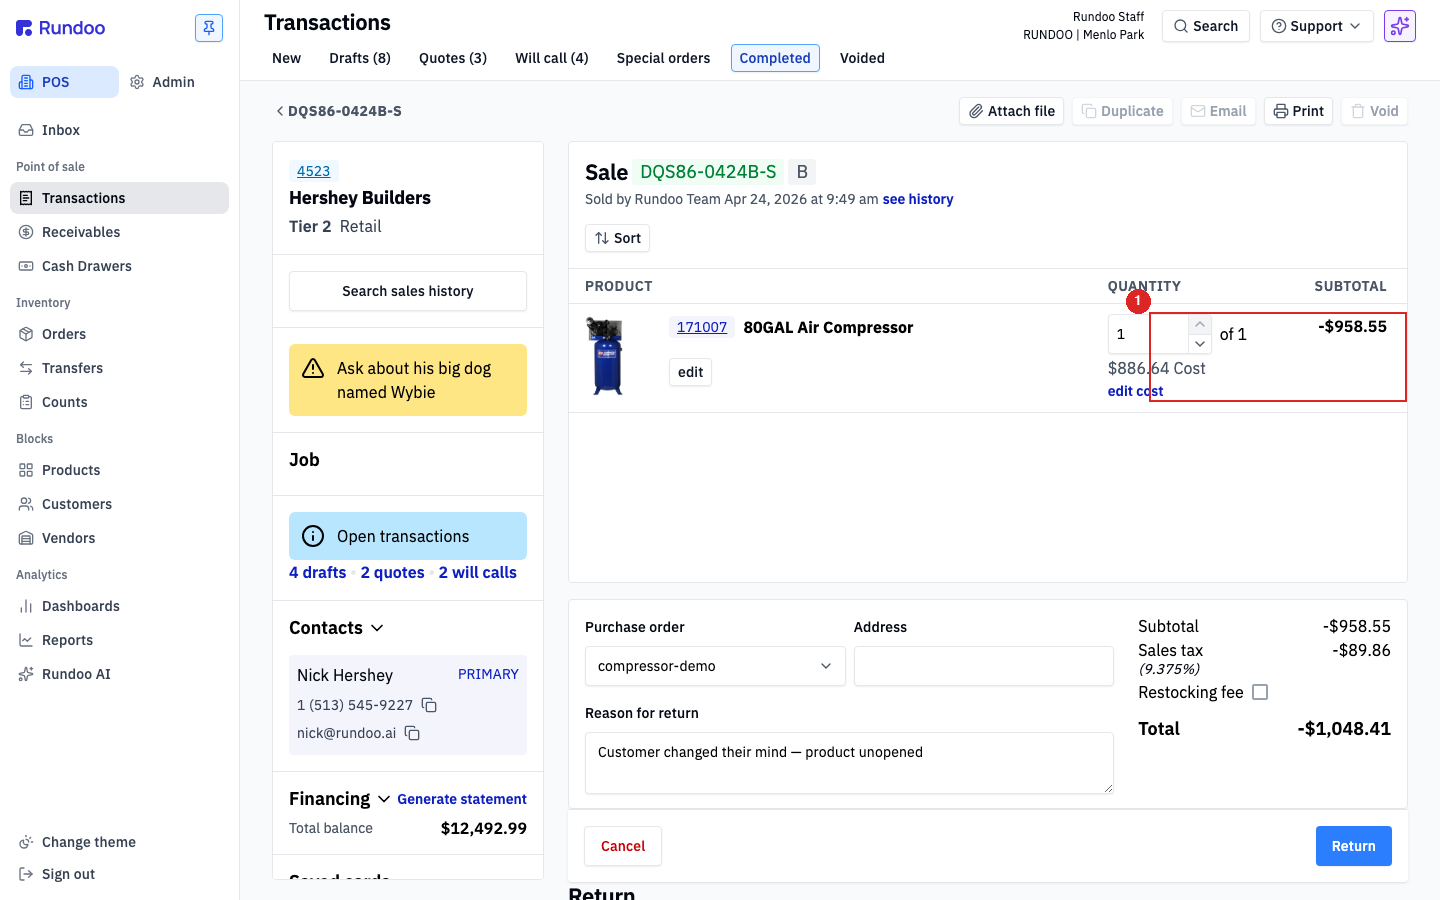
If your store charges a restocking fee, tick the Restocking fee checkbox in the totals panel. Heads up: this is a flag for your records, not a math operator. It does not change the refund amount here. (See "Good to know" below for how to actually collect the fee.)
Below the form, the Return section lists every tender your store takes, with the original one preselected and labeled (Previously used payment method). Rundoo defaults to sending the money back the same way it came in. Click the big blue Refund button, then Confirm. The return is processed, linked to the original sale in the customer's history, and you land on the completed-return view with Print and Email options.
No original sale to pull up?
Walk-in guest sale, an item that was never in Rundoo, or a receipt nobody can find? That is a no-receipt (unlinked) return, and it has its own short guide: see No Receipt, No Problem. Whenever you can find the sale, though, link it, so pricing and tender pre-fill correctly.
Find the sale
Customers, then Transactions
Or use Search sales history / the header Search.
Start the return
Click Return on the sale
Top-right action cluster. Lines pre-fill.
What comes back
Set the quantity, add a reason
Totals flip negative. A reason is required.
Where the money goes
Back to the original tender
Preselected for you. A charge-account sale credits their balance.
Good to know