Deliver by date
When they need it
Not the truck day, the arrive-by date. Gives the scheduler room to plan.

The Rundoo Primer · Deliveries
Schedule a delivery, assign the truck and driver, and track it to the job site.
A customer rings up a big order of lumber and says they need it on site by Thursday. Instead of a clipboard or a sticky note, you can schedule the whole delivery right from your POS, build the truck run, and track it all the way to the job site. Here is how it works, start to finish.
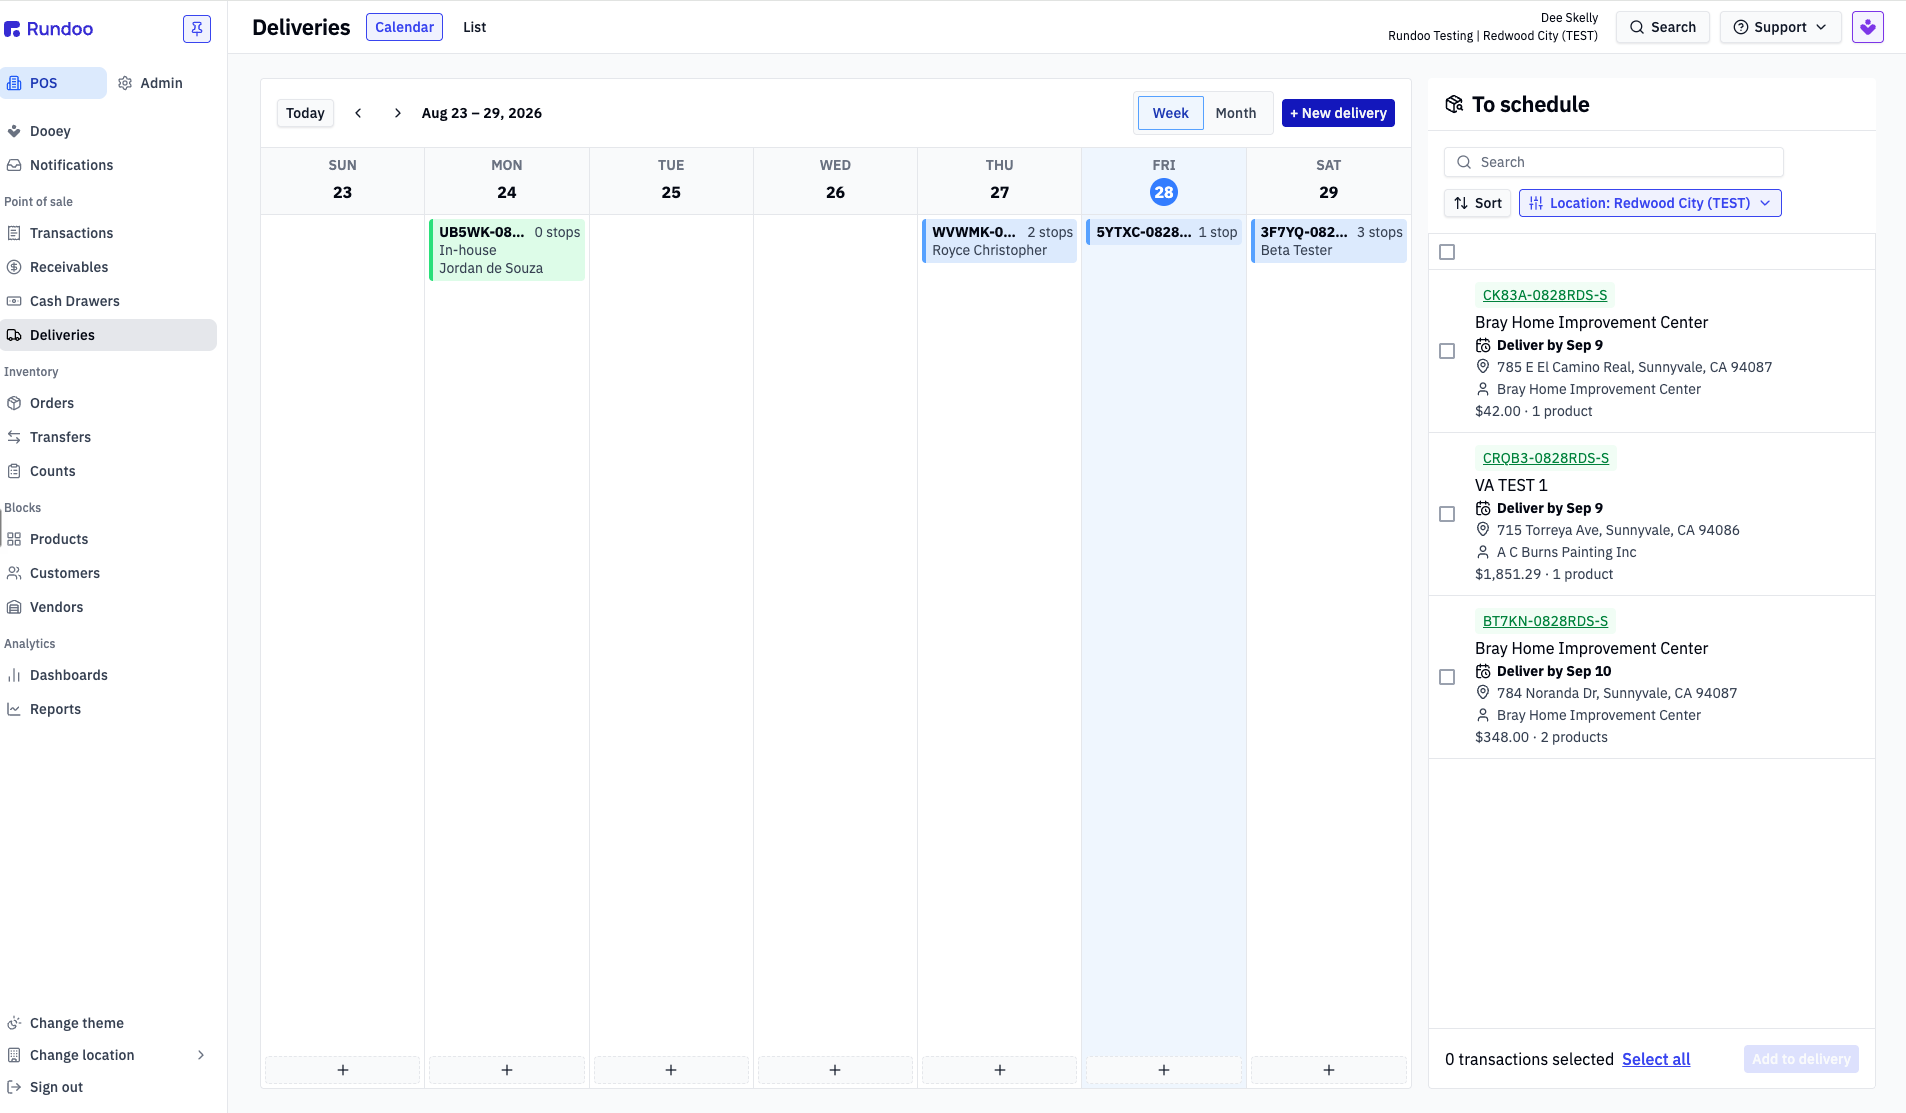
You have a new Deliveries tab on the left side of the POS. Open it and you get two things: a calendar of every scheduled run, and a To schedule panel on the right, the to-do list of every order marked for delivery that has not been put on a run yet. Switch between Calendar and List views up top.
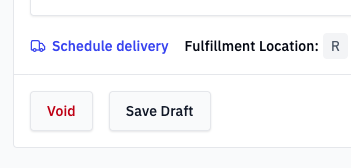
Ring up the sale as normal, then click Schedule delivery. This works on a new sale, a will call, or a completed transaction.
In the box that pops up, set the Deliver by date (the date the customer needs it by, not the day the truck goes out), confirm the job site address, and add any special instructions. Then click Mark for delivery and take payment as normal. The receipt shows the delivery as pending, and your part at the counter is done.
Whoever organizes the trucks, a store manager or logistics person, opens the Deliveries tab. Every order waiting is in the To schedule panel. Select one or more orders and click Add to delivery.
Pick the actual date the run goes out. Assign a truck and driver, or leave them blank and fill them in later if you are not sure yet. Click Schedule delivery, and the run lands on the calendar for that day.
When that same customer needs one more item on the same run, start a new sale, add the item, and click Schedule delivery with the same deliver-by date and address. The scheduler then opens the delivery, uses Search transactions to find the new order, and clicks Save to add it as another stop.
Once the truck is staged and out the door, click In progress so everyone can see what is left to deal with. When it is delivered, click Complete. Statuses only move forward, and completing a run locks it from further edits.
If your cashiers handle deliveries too, they can skip the Deliveries tab entirely. Instead of Mark for delivery, they click Attach to an existing delivery, pick the run, and it is added right from the sale.
Need to change a scheduled delivery? As long as it is not marked completed, open the run, find the transaction, and click the X to remove it, or click Edit to change the address or contact details.
Deliver by date
When they need it
Not the truck day, the arrive-by date. Gives the scheduler room to plan.
To schedule panel
The to-do list
Every order marked for delivery that is not yet on a run.
Statuses
Scheduled → In progress → Completed
Forward only. In progress is optional. Completed locks the run.
Drivers
Staff members
Add them under Admin → Staff. No counter access needed, just a name to assign.
Good to know