Where
POS → Transfers
Left sidebar, in the POS mode.

Getting Started with Rundoo · Inventory
Move inventory between your locations and receive exactly what lands.
One store runs short on a popular item while another has a box of it sitting on the shelf. When you open a second location, moving your own stock between your own stores is a regular part of the week. In Rundoo you send it from one location to another, receive exactly what lands at the other end, and the count stays honest at both stores without any hand math.
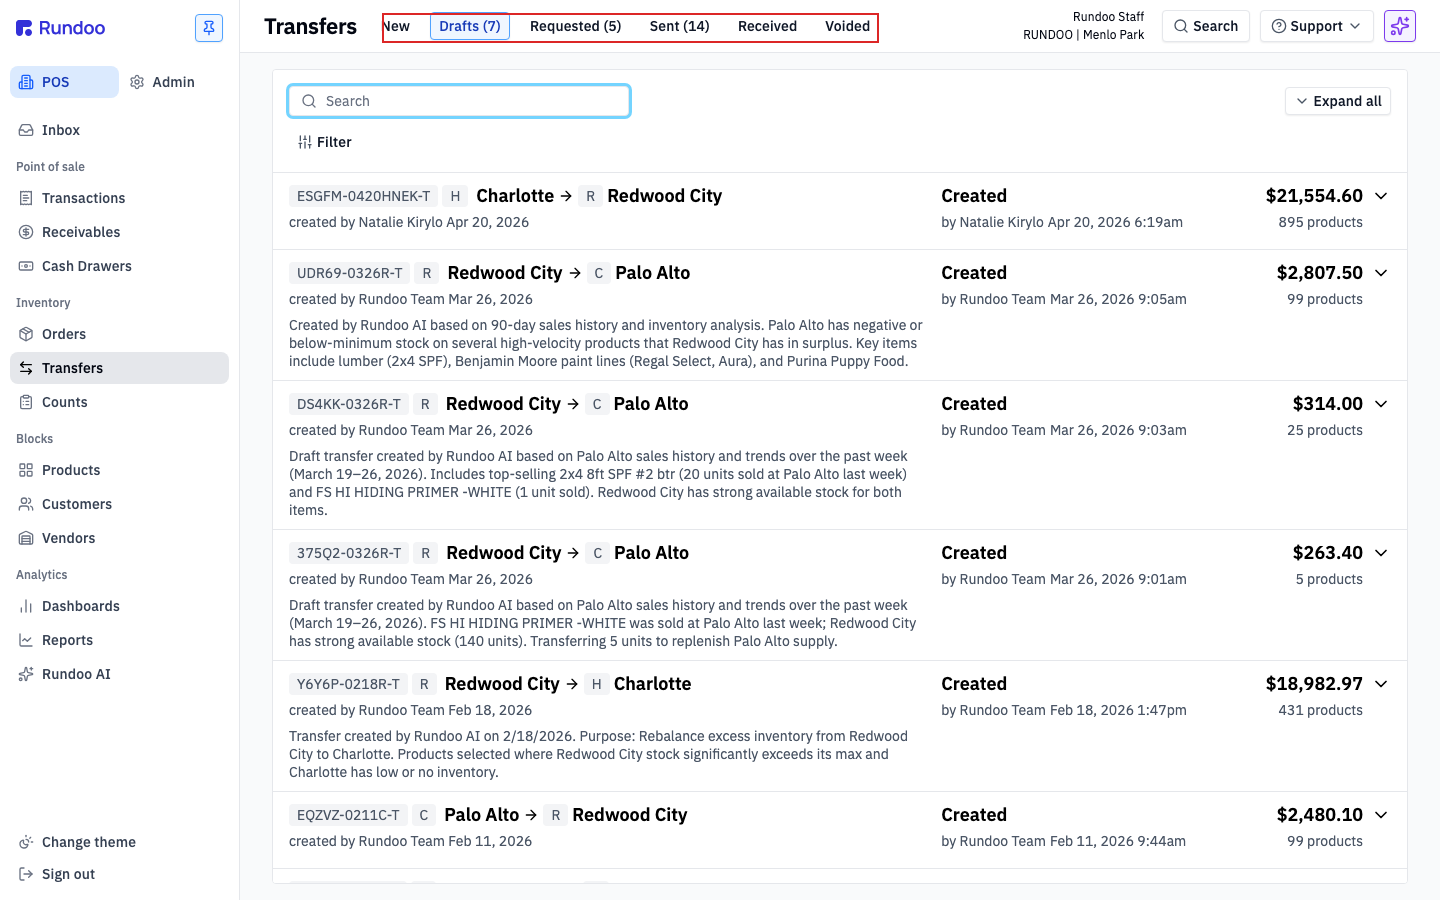
In POS, click Transfers in the left sidebar. The tabs across the top are the life of a transfer, read left to right: New to build one, then Requested and Sent once it is on the truck, and Received when it lands. Each tab shows a live count, so you can see what is in transit at a glance.
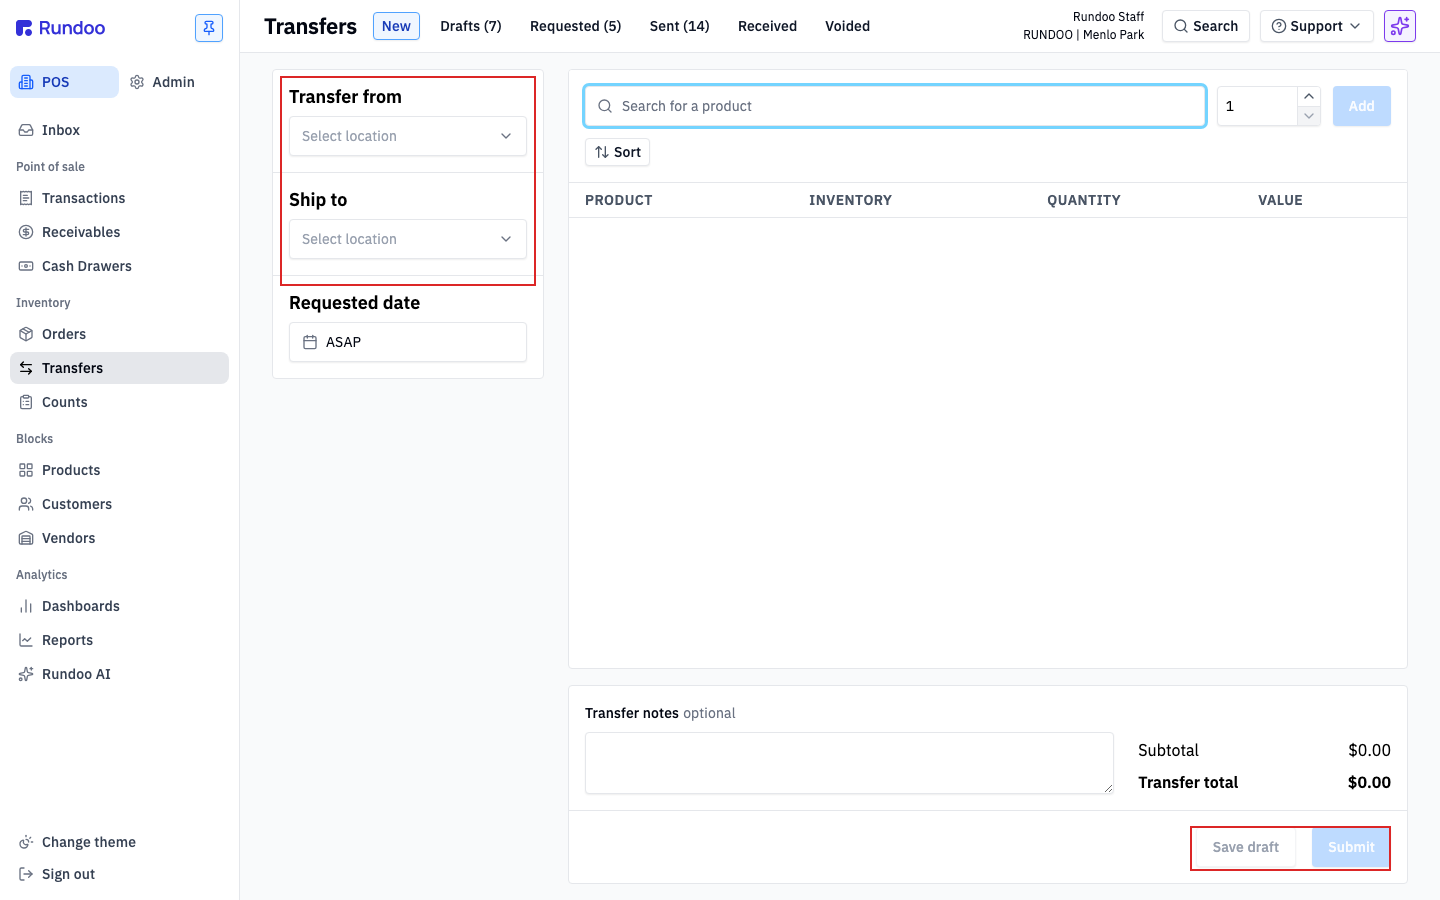
Open the New tab. You will see the transfer builder: the two locations on the left, product search in the middle, and totals on the right. Nothing else opens up until you tell Rundoo where the stock is coming from and where it is going.
Click Select location under Transfer from and pick the store that is sending the stock. Then click Select location under Ship to and pick the store that needs it. Each store's address fills in underneath, and Requested date defaults to ASAP. Once both locations are set, the middle of the screen opens up so you can add products.
Click Search for a product and type the name or SKU. There is no drop-down list here, so press Enter to take the first match. It drops onto the transfer as a line, and the INVENTORY column shows the on-hand count at both stores side by side, so you know exactly what each location is working with before you commit.
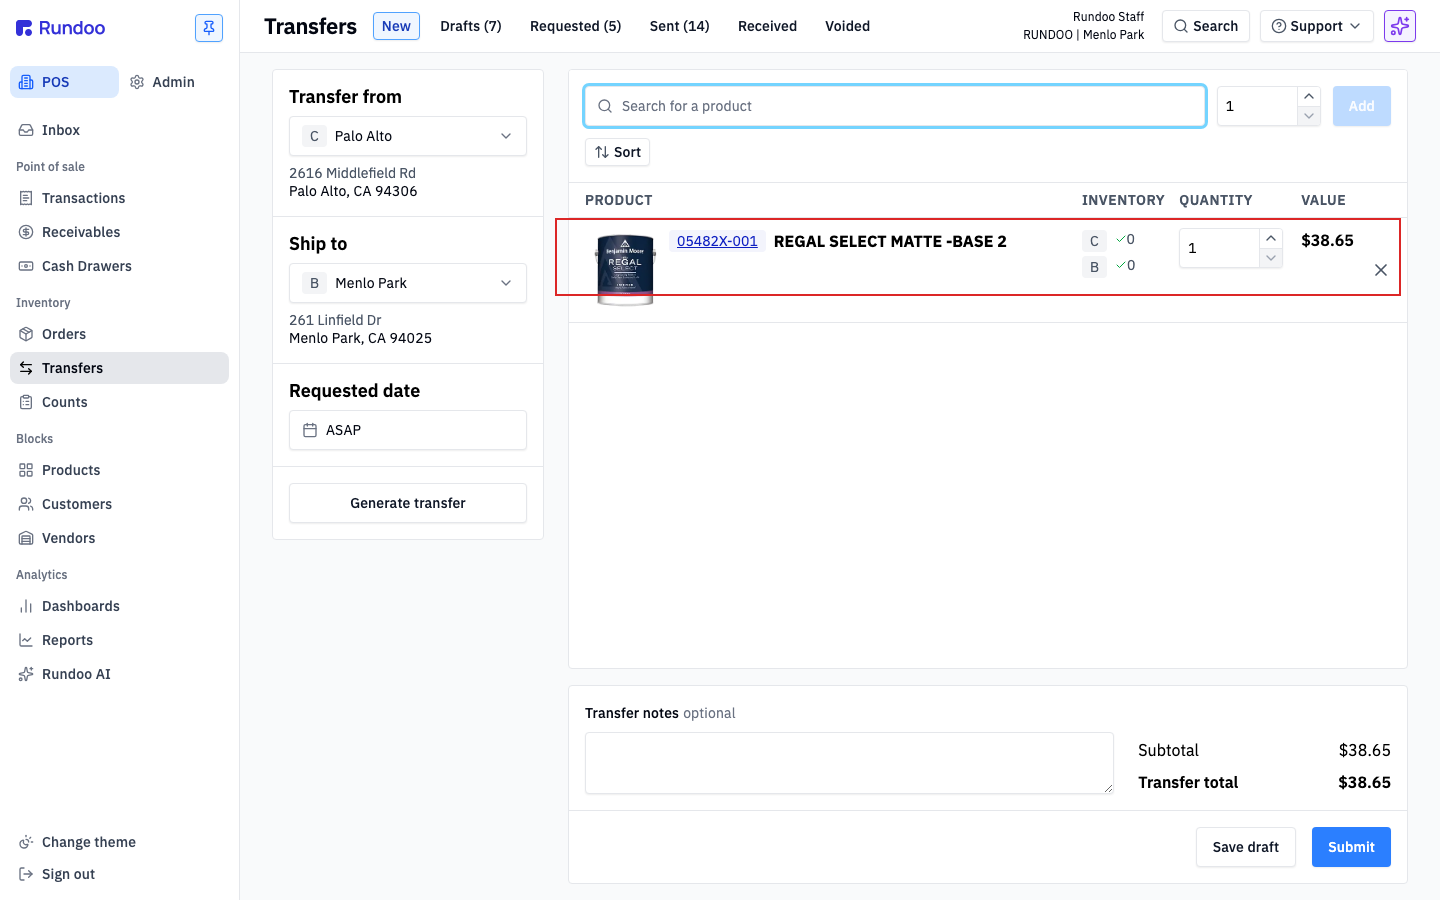
Use the quantity stepper on the line to set how many units you are moving. Click in and type for a larger number. The VALUE column and the Transfer total at the bottom update live as you go, so you can see the dollar value of what is leaving.
When the line looks right, click Submit at the bottom right. Rundoo drops a green confirmation banner and moves the transfer along. If you are not ready, Save draft stashes it in the Drafts tab to finish later.
Once submitted, the transfer shows up in the Sent tab, where it waits while the stock is in transit. This is the shared view both stores use to see the shipment is on the way.
At the receiving store, open Transfers, go to the Sent tab, and open the shipment. In the QUANTITY column, record what actually arrived as "N of N," then confirm the receipt. The transfer moves into the Received tab.
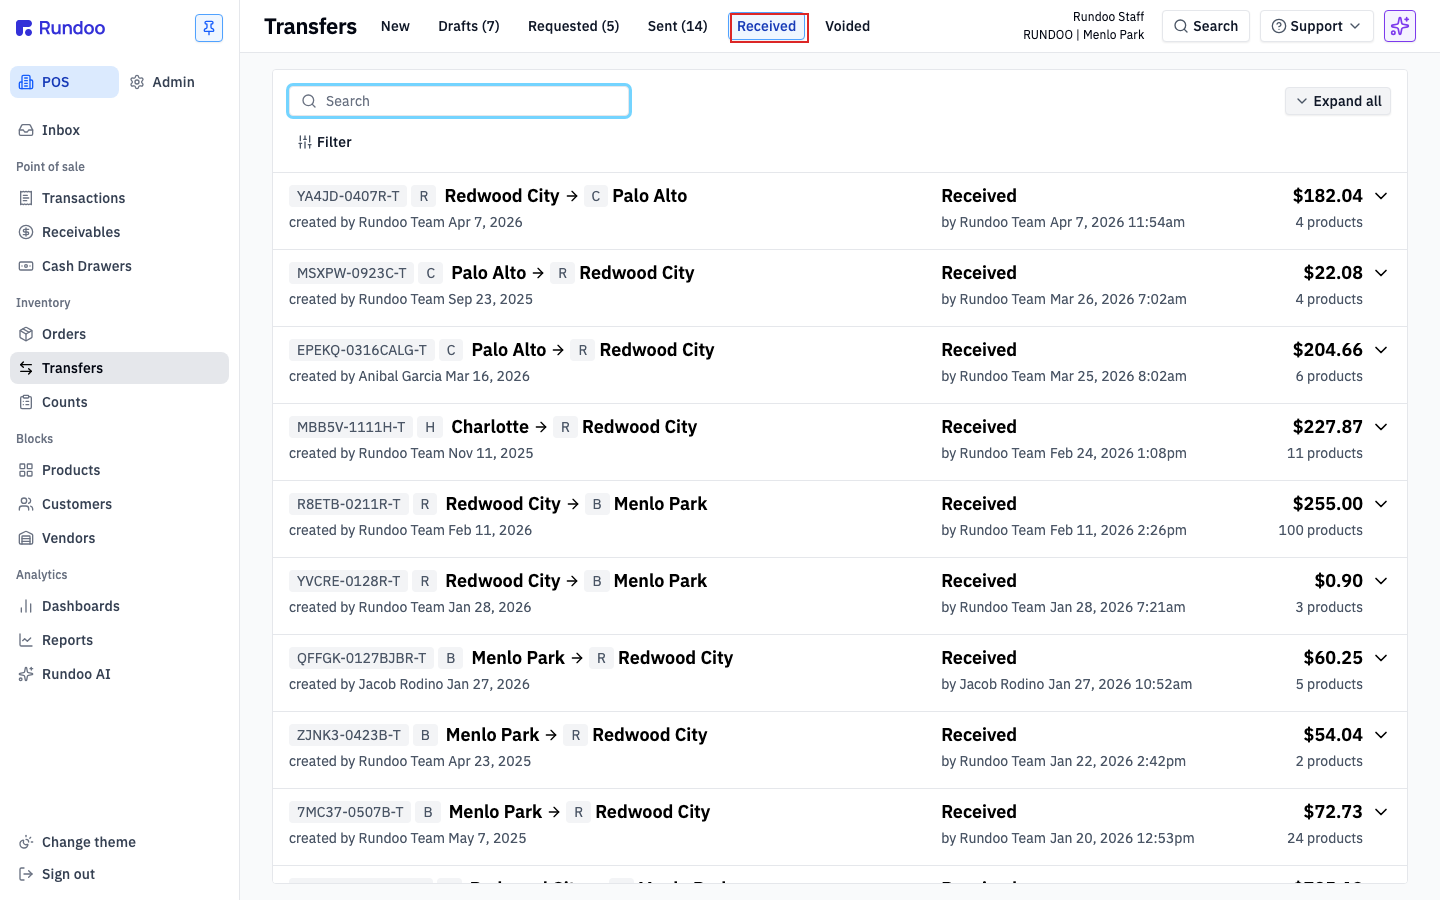
The sending store's on-hand drops by what left the building, and the receiving store's on-hand climbs by what you confirmed arrived. No spreadsheet, no double entry. Your inventory is accurate at both stores.
Where
POS → Transfers
Left sidebar, in the POS mode.
The life of a transfer
New → Requested → Sent → Received
Voided is the off-ramp if you cancel.
Add a product
Type, then press Enter
No drop-down. Enter takes the first match.
Receiving
From the Sent tab
Record "N of N," then confirm.
Good to know