Where
Customers → Statement runs
In POS mode, left navigation.

Getting Started with Rundoo · Setup
Your monthly statements generate overnight, so all you do is review and send.
Once a month, every charge-account customer needs their statement. The good news is that Rundoo already did the heavy lifting. On your statement day, it builds the whole batch overnight, applies any finance charges, and lines it all up. When you sit down, the month's statements are ready and waiting. All that's left is to give them a look and get them out the door, and that takes a few clicks.
In POS mode, click Customers in the left navigation, then the Statement runs tab at the top. This is home base for every statement run, past and present. When your monthly run is ready, a banner sits right at the top of this page.
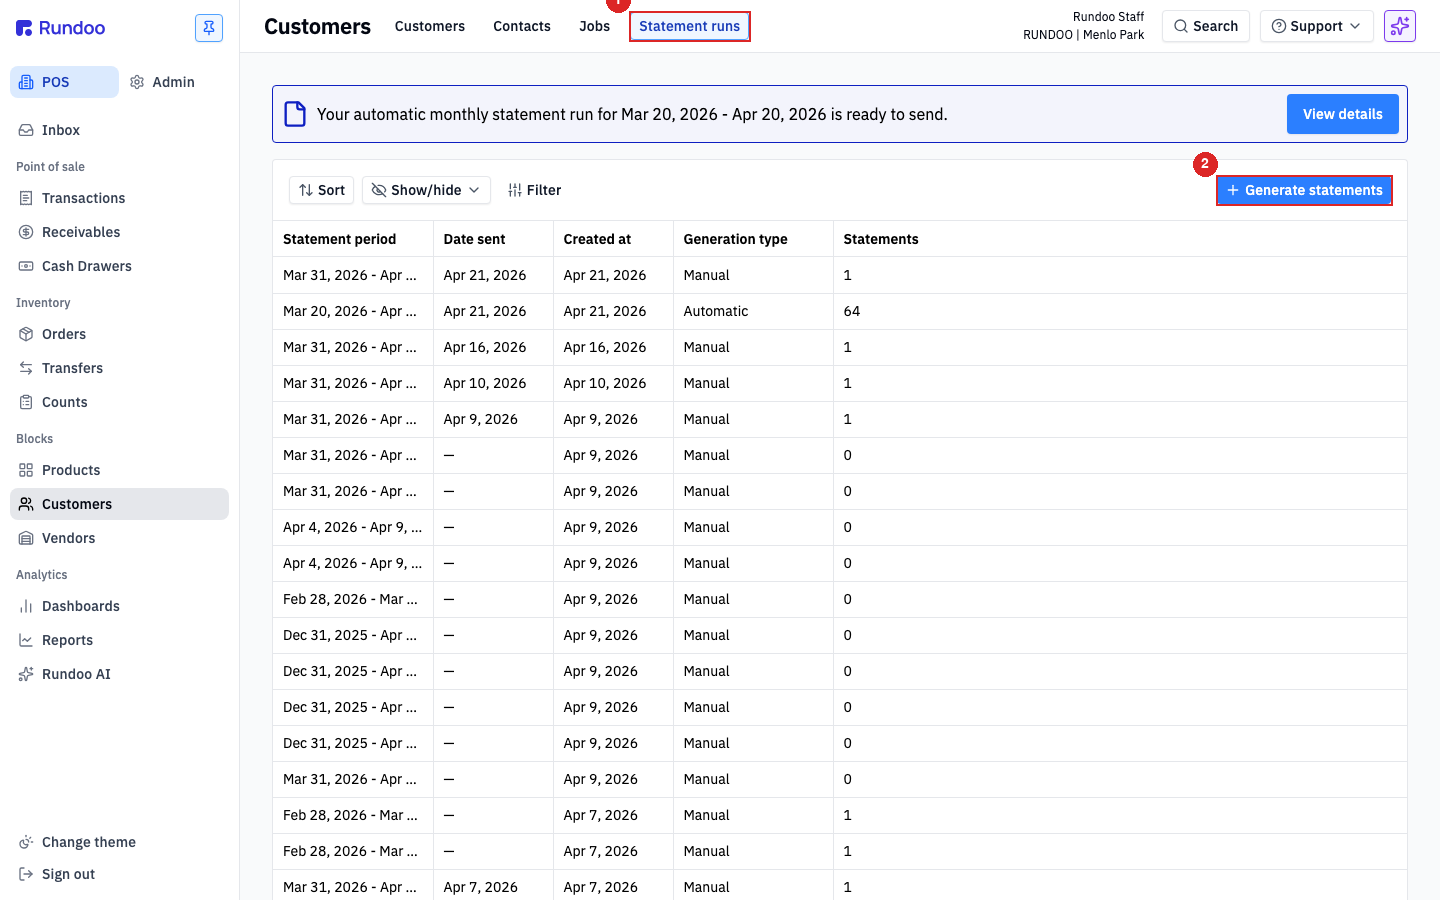
On the Statement runs tab, look for the highlighted banner telling you this month's automatic run is ready to send. That banner is your signal that Rundoo built the batch overnight and it's waiting on you. Click View details on the banner to open the run.
The one thing to remember: the run generates on its own, but it does not send on its own. Nothing reaches a customer until you press send. So seeing the banner is step one, not the finish line.
The banner opens the Send statements window, split into two tracks: Send statements by mail and Send statements by email. Rundoo sorts each customer into the right track based on how they've asked to be billed. Before you send anything, click Preview on either track. It opens one PDF with every statement in the run, so you can scroll through and make sure the numbers look right. Worth doing every time, especially your first few months.
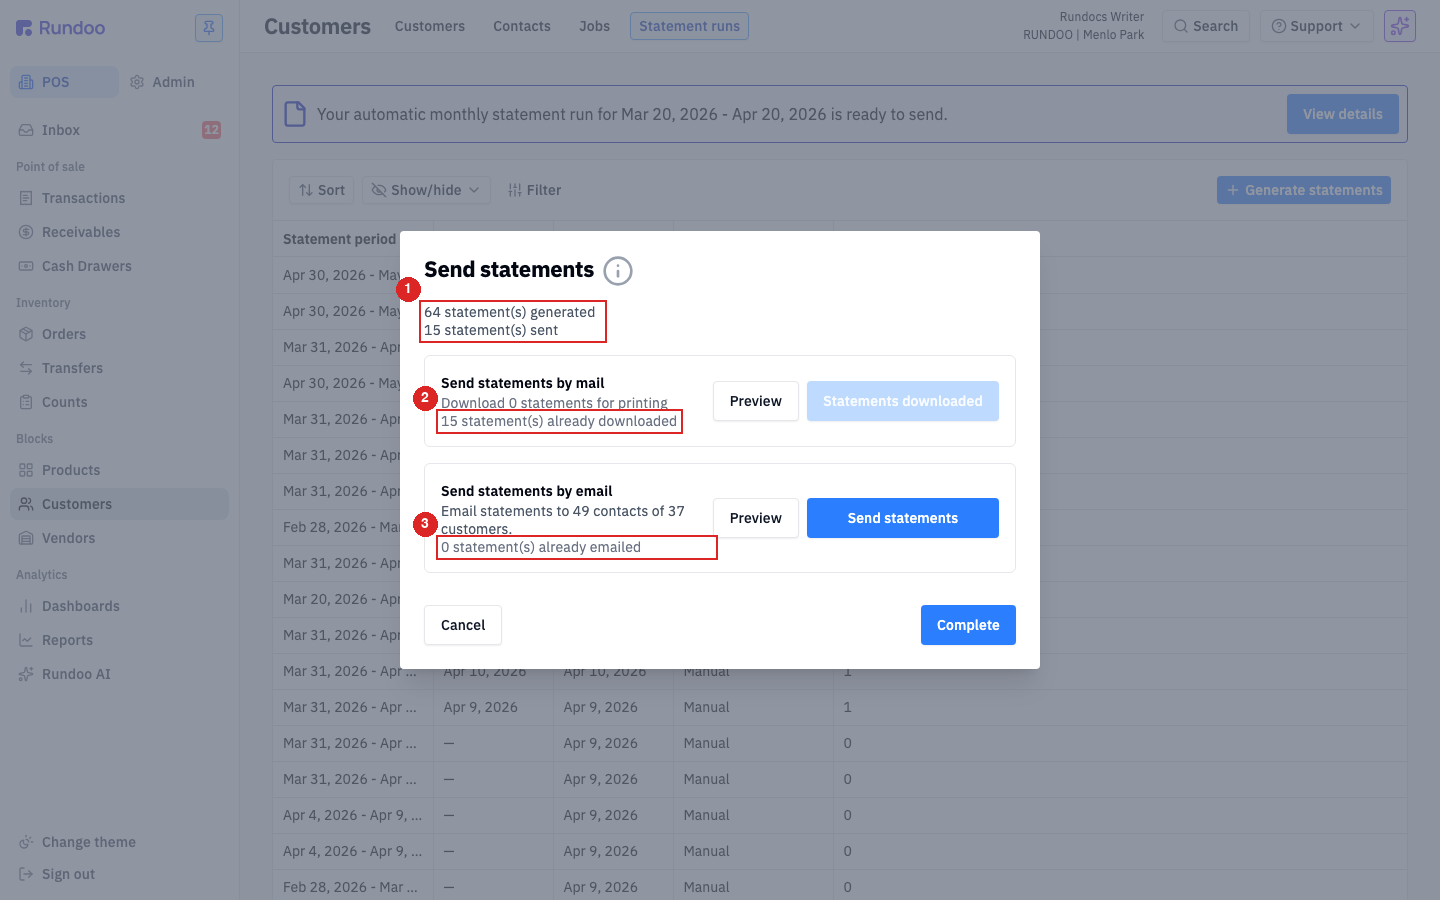
In the email track, click Send statements. Rundoo emails each customer's statement to the contacts on file, and the counter updates to show how many went out. Customers can have more than one contact, and each one gets a copy.
For the customers who get paper, head to the mail track and click Download statements. That saves one file to your computer with every mailed statement in it, ready to print, stuff, and drop in the mail. The helper text tells you how many copies are in the packet.
Once the emails have gone and the paper copies are printed and in their envelopes, click Complete at the bottom of the window. That marks the whole run as done and closes out the month. The finished run then shows up in the history table on the Statement runs tab, so you always have a record of what went out and when.
Where
Customers → Statement runs
In POS mode, left navigation.
When
Overnight, on your statement day
Set in Admin → Communications. Defaults to the 20th.
Two tracks
Email and mail
Rundoo sorts each customer by their billing preference.
Finish
Click Complete
Marks the run done and logs it in the history.
Good to know