Only required field
Name
Shows on POs and invoices. Must be unique.

Getting Started with Rundoo · Setup
Add a vendor and set where your orders get sent.
You're bringing on a new line of products, or just getting a new supplier set up. Before you can place that first purchase order, Rundoo needs to know who they are. The good news is that getting a vendor in the door takes about a minute. All Rundoo asks for is a name. Two more fields are worth getting right the first time, and this guide walks you through both so you're ready to order.
In POS mode, open Vendors in the left sidebar. Just like adding a customer or a product, the button to create a new one is up in the top-right corner. Click Add vendor and a small modal opens with the handful of fields Rundoo needs to create the record.
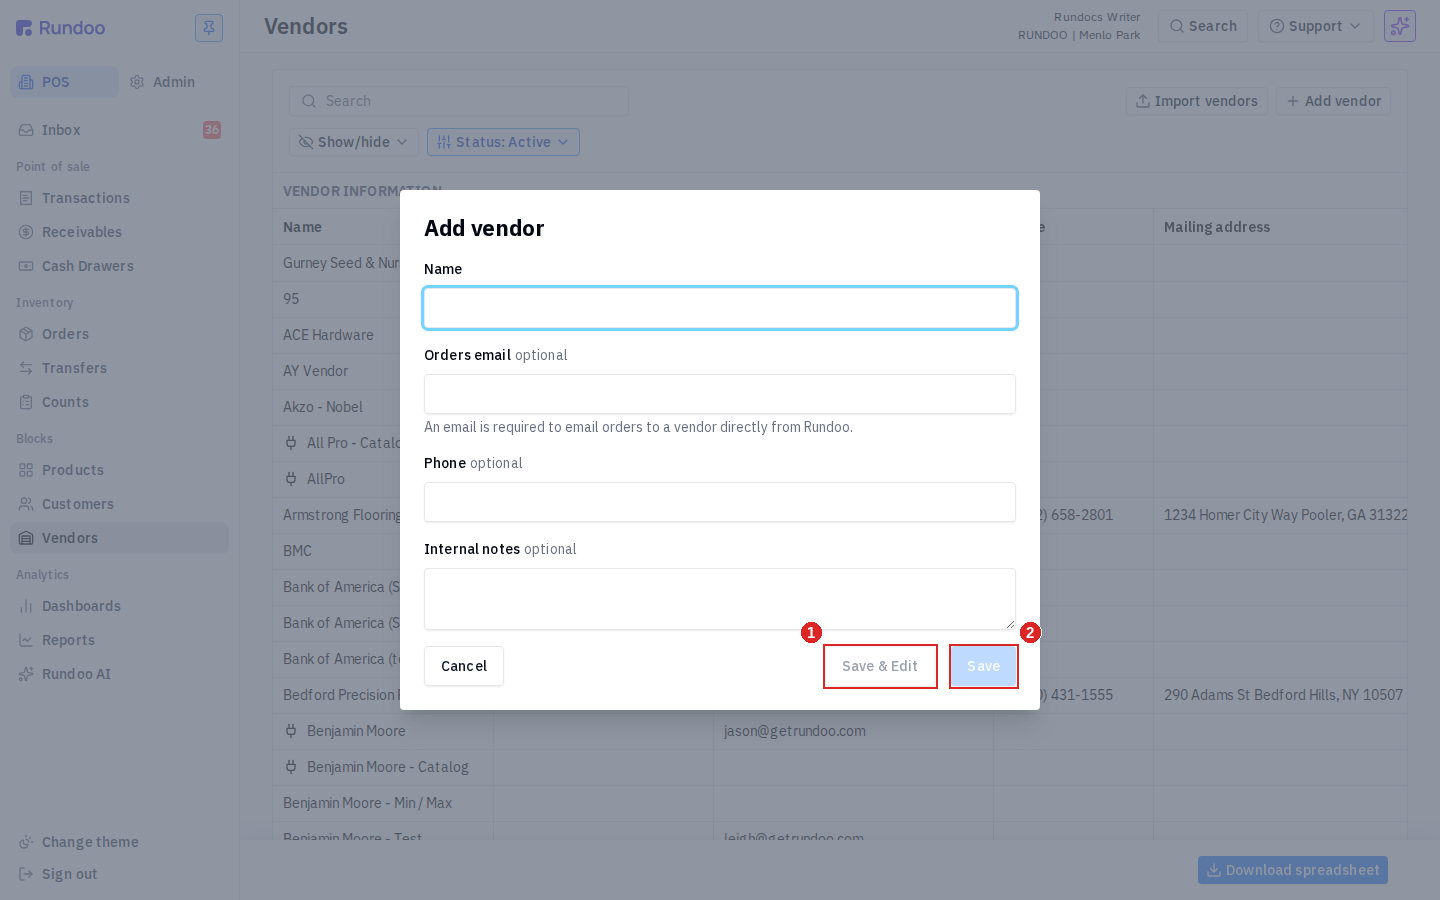
You can fill out everything right here, but the only thing Rundoo requires is the Name. This is the name that shows on purchase orders, invoices, and in your list, so spell it the way you want to see it. It has to be unique. If a vendor by that name already exists, Rundoo shows a red banner and keeps the modal open so you can rename.
You've got two ways to finish. Save creates the vendor and takes you back to your list, which is all you need when you just want them in the system. Save & Edit creates the vendor and drops you straight onto their full profile so you can set the address, ordering email, and contacts. For a brand-new supplier you'll actually order from, pick Save & Edit.
On the detail page, scroll to Vendor information. The field to get right here is Pay to. If you connect Rundoo to your accounting system, like QuickBooks, this name has to match what's in your books exactly. It's the official name that goes on the check. Type it the way your books have it, then use the section's own Save at the bottom.
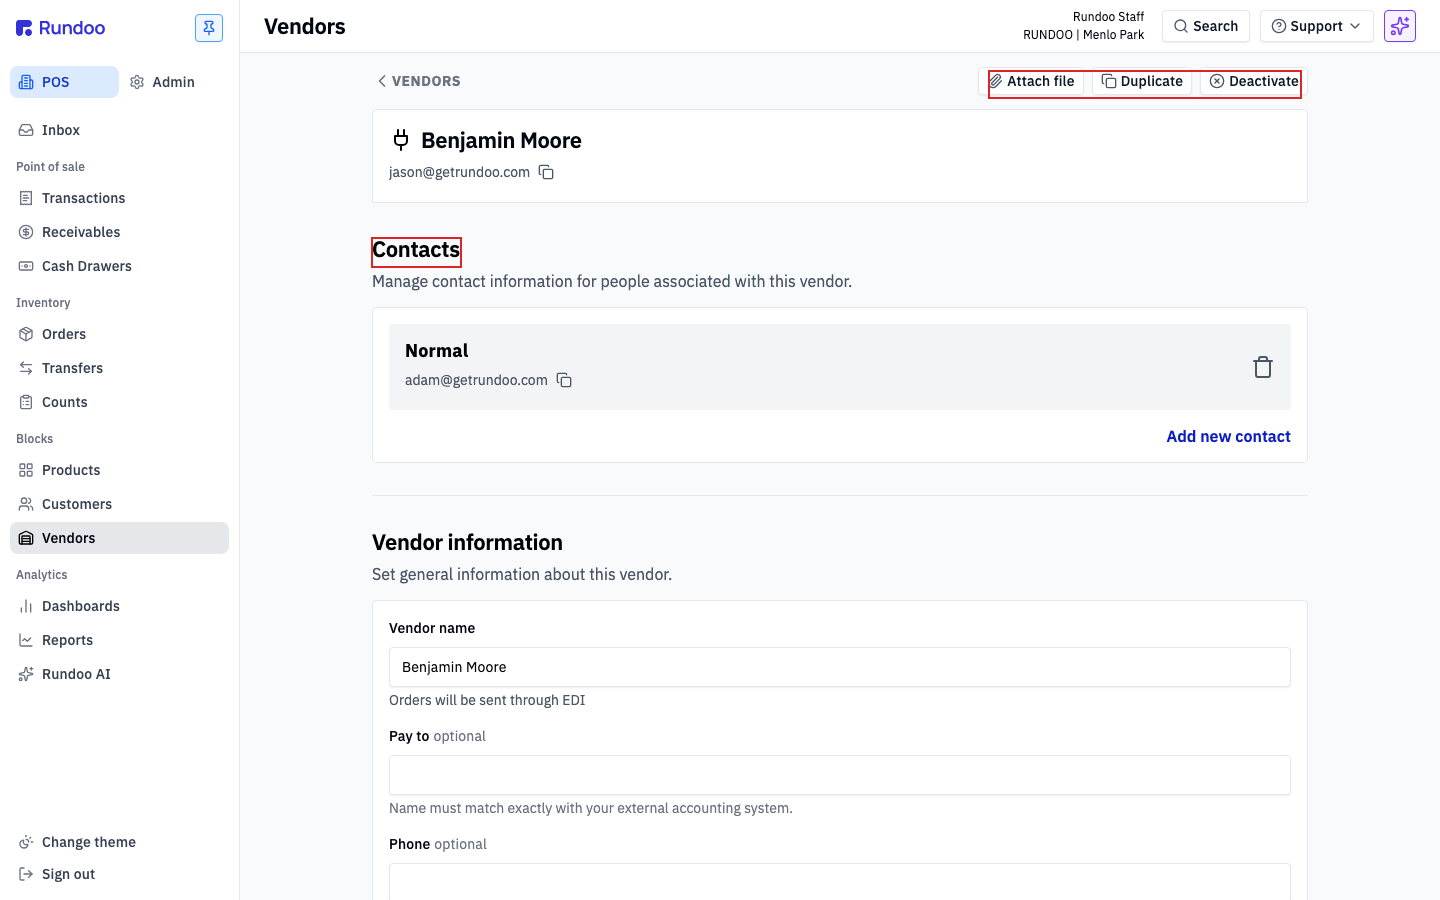
Scroll to Ordering. The Orders email is where Rundoo sends your purchase orders. This is usually a main inbox for the company, not your personal rep's address. It's a single email, so no CC or comma-separated list. If you need a PO copied to a second person, use a distribution list or an inbox rule on that account. You can also choose whether to attach the PO as a PDF, an Excel file, or both, with the two toggles right below.
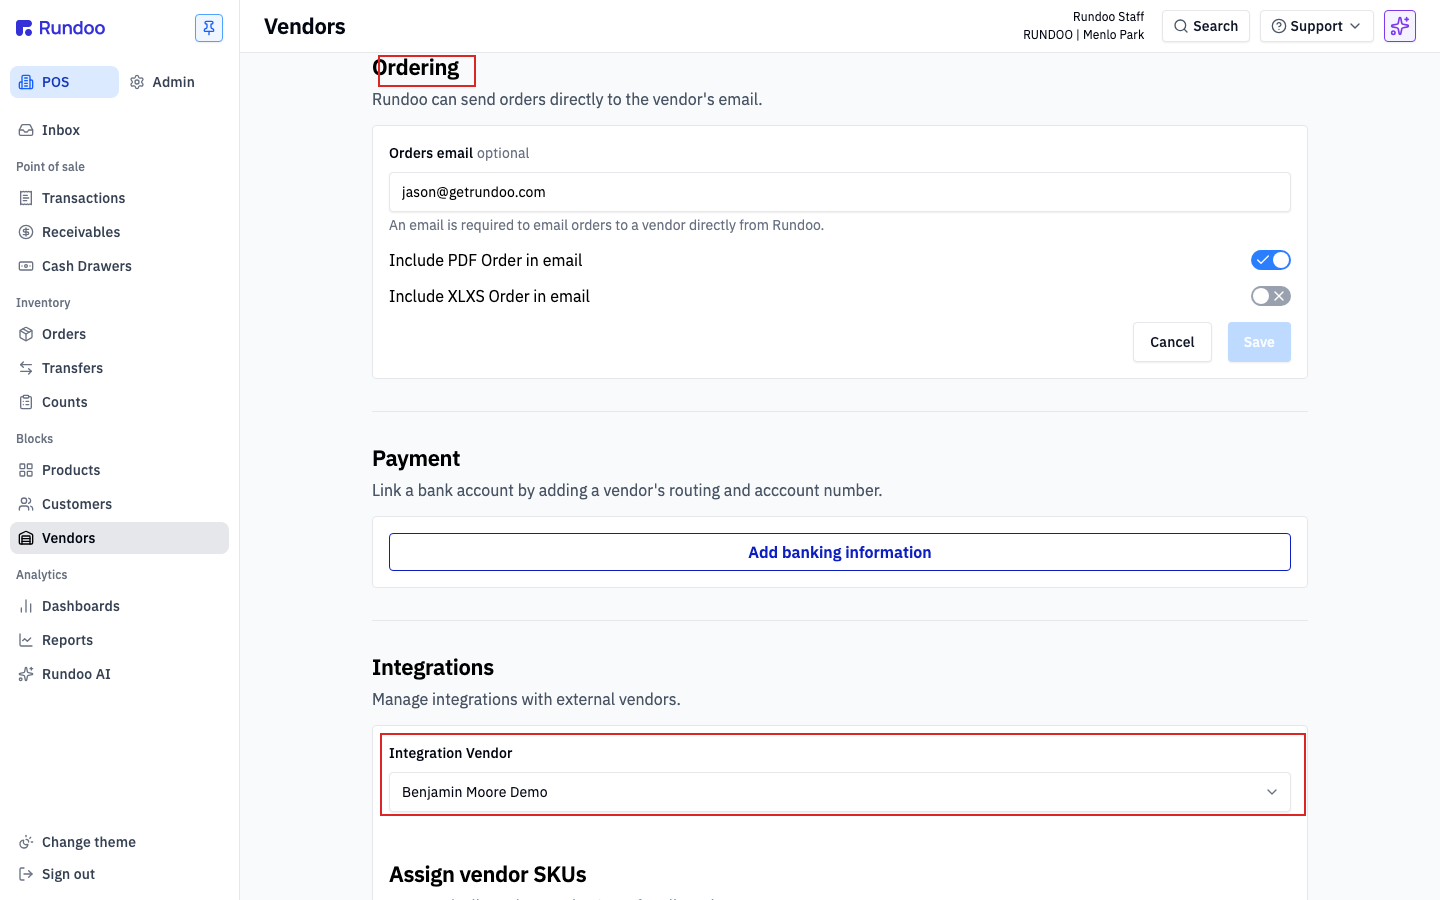
Want your rep's direct line handy? Scroll up to Contacts and click Add new contact. The company is the vendor; the people you work with (your rep, the shipping manager, accounts receivable) are contacts underneath. Just remember contacts are for reference only. Rundoo sends the actual PO to that main Orders email, never to individual contacts.
Only required field
Name
Shows on POs and invoices. Must be unique.
Pay to
Match your books
Has to match your accounting system exactly.
Orders email
One address
Where POs get sent. No CC or comma list.
Save & Edit
Opens the profile
Use it when you'll add details now.
Good to know