The model
Stripe Reader S710
Current white touchscreen reader. Tap, chip, or swipe.

Getting Started with Rundoo · Open the Box
From the box to taking cards: unbox, connect, and pair the Stripe reader.
The card reader is the piece that lets you take a card at the counter, and the good news is you do not set up much of anything yourself. You get it out of the box, on your Wi-Fi, and updated, then you hand Rundoo one short code and we do the pairing on our end. Here is the part that surprises everyone: you never type that code in anywhere. Send it to us, and your reader is taking cards.
Rundoo ships you the Stripe Reader S710, the current model, a white countertop reader with a touchscreen that takes tap, chip, and swipe. It sits on a dock, joins your Wi-Fi, and talks to the computer running Rundoo during a sale. (If you have the older black BBPOS WisePOS from a previous generation, the steps are nearly the same, with two small differences noted at the end.)
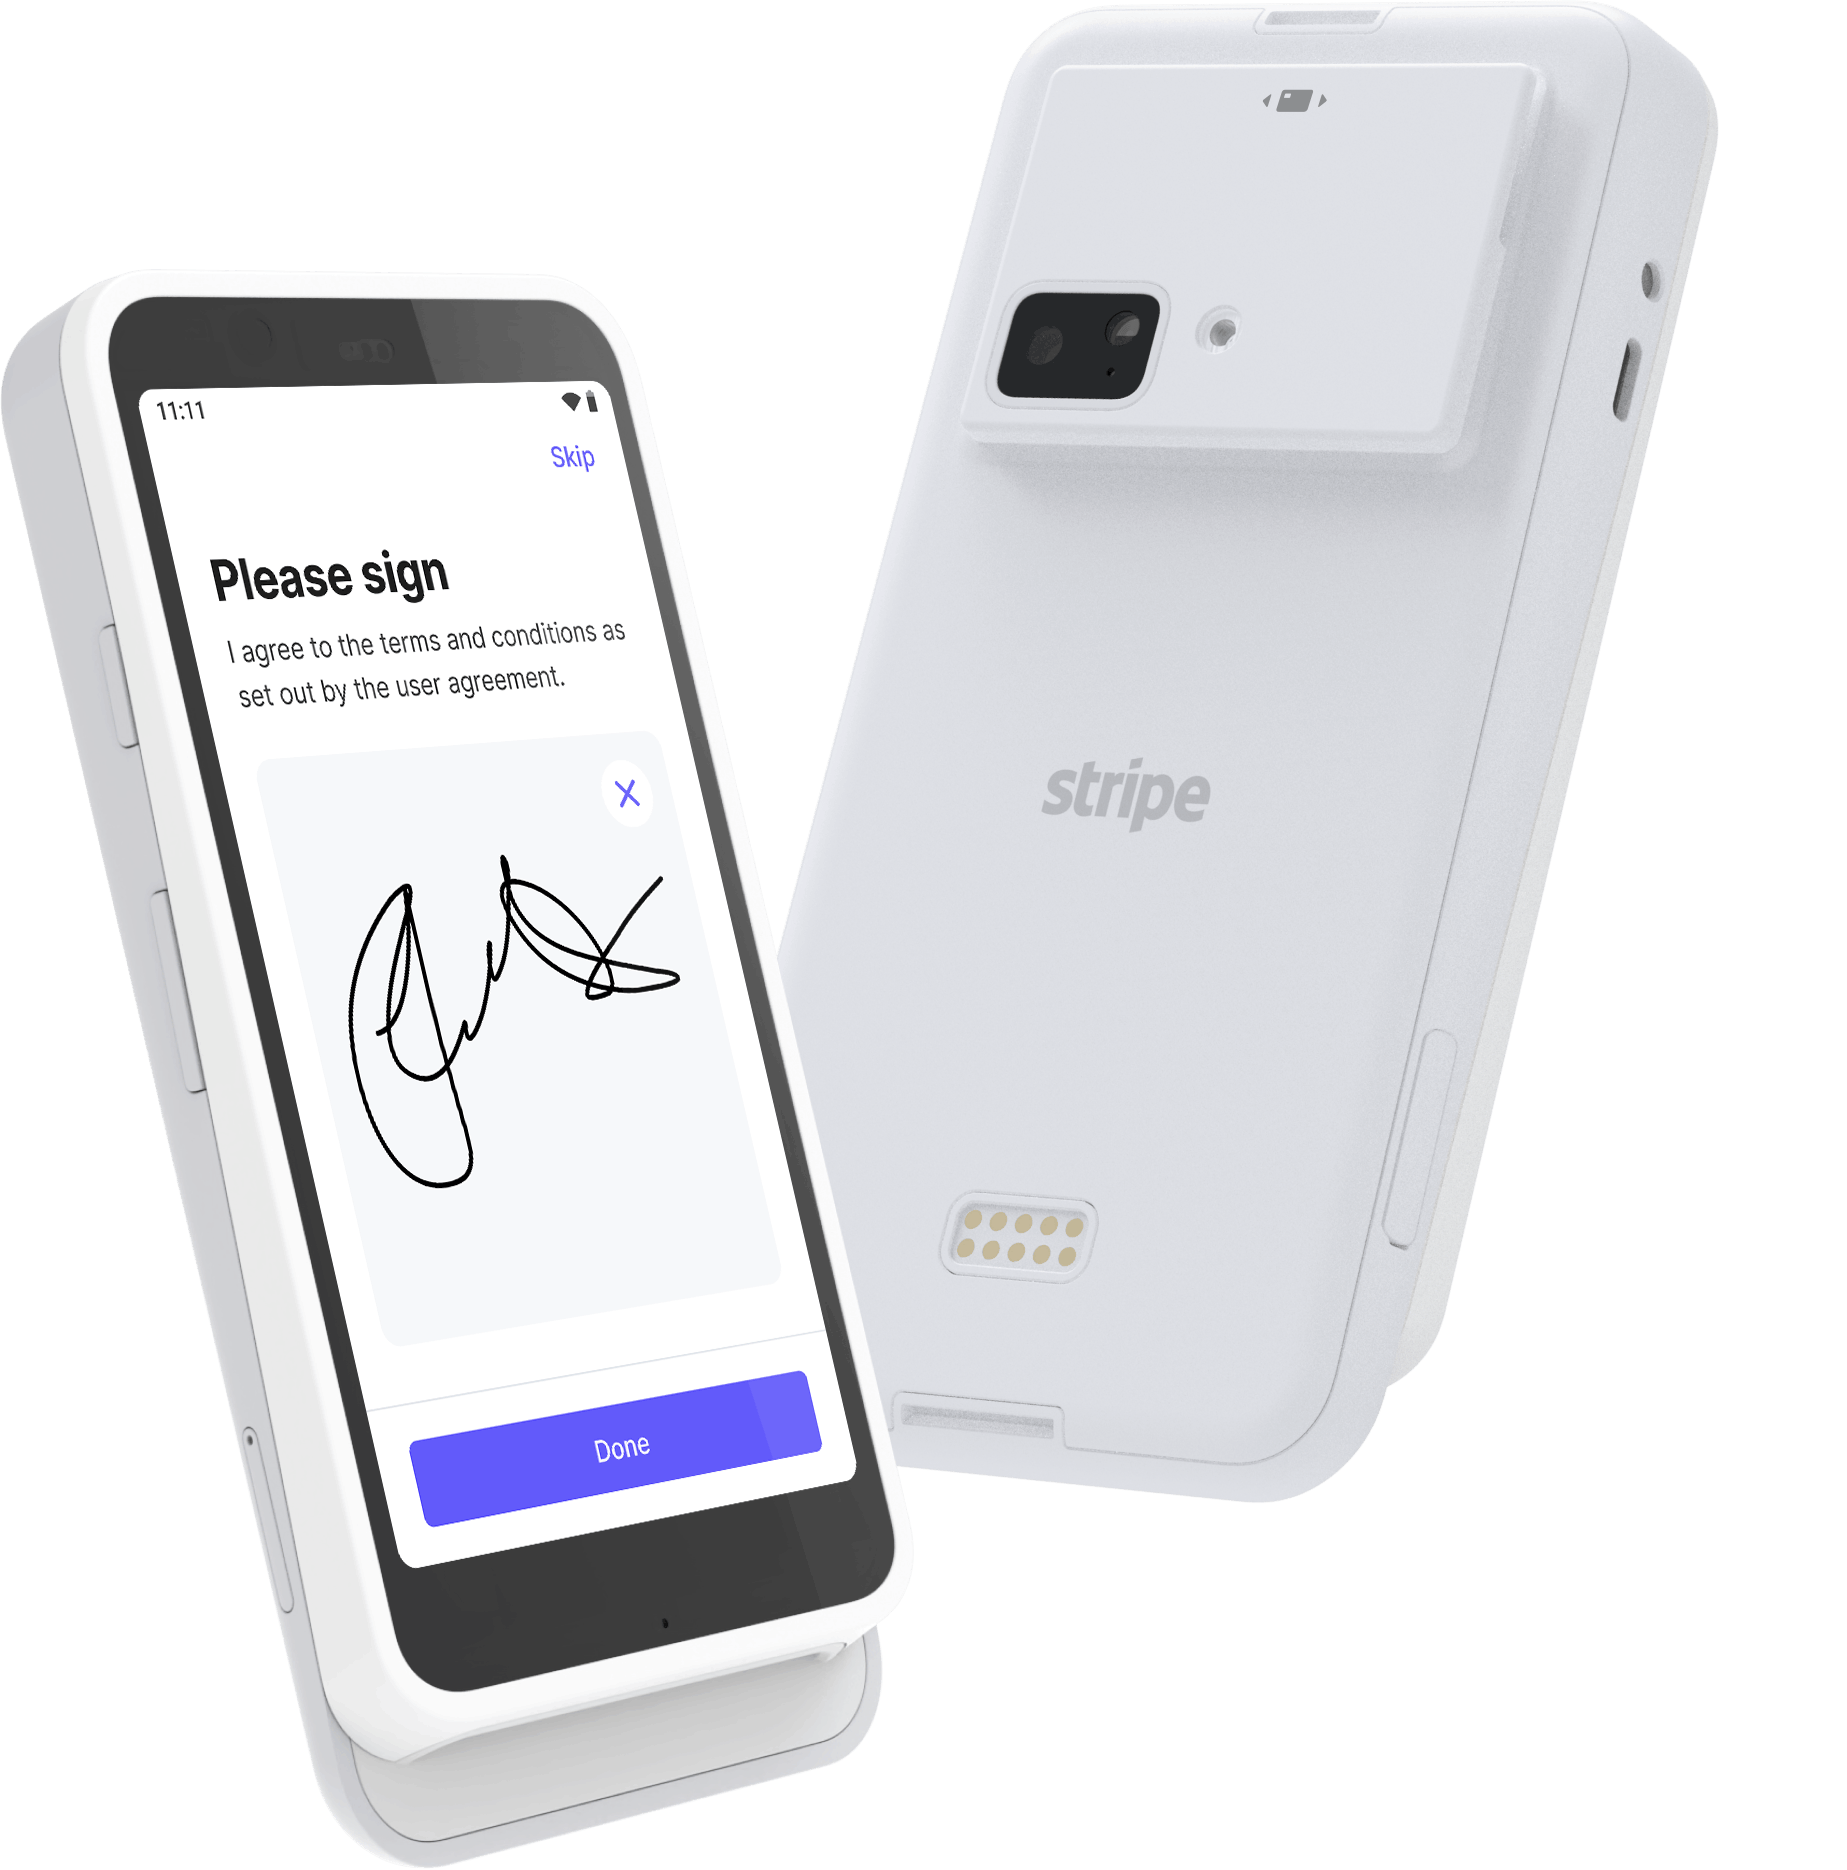
Three pieces ship for one station: the dock (the cradle the reader sits on), the reader itself, and a power cord. Plug the power cord into a wall outlet, plug the other end into the dock, and set the reader on the dock.
Hold the power button on the right-hand side of the reader until the screen wakes up. On its first boot it prompts you for your country and language. Pick yours. If it ever asks for an admin password along the way, the default is 07139.
Enter your Wi-Fi password when the reader asks. Two things matter here: put it on the same network as the computer running Rundoo, because the two have to talk to each other during a sale, and that network needs a password. The reader will not join an open, password-free network.
On first boot the reader almost always asks to update its software. Say yes and let it finish. This takes 20 to 30 minutes, so it can look stuck when it is not. Leave it plugged in and do not unplug it while it works. Skipping this update is the number one reason a reader acts up later, so it is worth the wait now.
When it finishes updating, the reader shows a three-word pairing code separated by hyphens, something like smartly-wire-mobile. You do not type this in anywhere yourself. Send it to your Implementation Manager if this is your first reader (message Rundoo Support in the chat for any reader after that), along with a name for the reader like Front counter. We wire it to your Stripe account on our end.
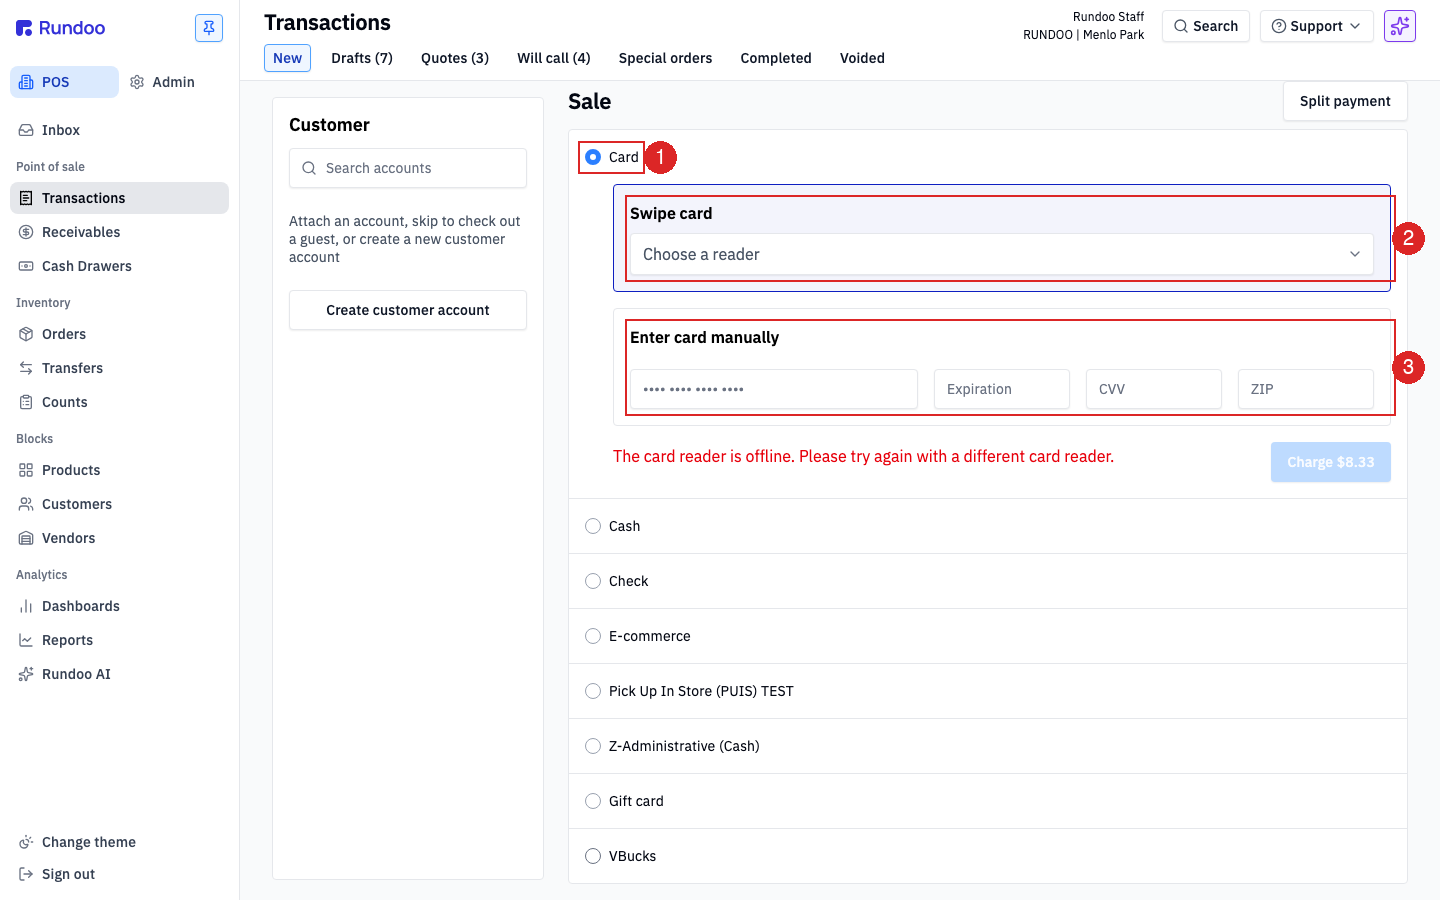
Once we have paired it, prove it works. In POS, open Sales (or any sale builder), add a product to the cart, and pick your new reader from the Choose a reader dropdown in the payment panel. If the cart total shows up on the reader's screen, you are taking cards.
Stick a label on both the dock and the reader with the name you gave us in the step above. Counters get rearranged, and an unlabeled reader becomes a "which one is this again?" the next time someone moves the station around.
The model
Stripe Reader S710
Current white touchscreen reader. Tap, chip, or swipe.
Connects by
Wi-Fi (password required)
Same network as your Rundoo computer. No open networks.
You send us
A 3-word pairing code
Like smartly-wire-mobile. We pair it on our end.
Admin PIN
07139
The default if the reader ever asks for one.
Good to know