CloudPRNT Server URL
device.stario.online/cloudprnt/rndo
Full: https:// in front. Older setups may use a different URL, ask Support.

Getting Started with Rundoo · Hardware Set-up
The fussiest part of the whole setup. So we slow down, and get it right the first time.
I'll be straight with you: the receipt printer is the fussiest part of the whole setup. The good news is it's a once-per-printer job, and there are only two ways to do it. We'll unbox it, power it up, and load paper. Then the wired (Ethernet) way start to finish, and if there's no Ethernet port near your register, the Wi-Fi way right after. Wherever you get stuck, your Rundoo guide is right there with you.
This walks the Star Micronics TSP100IV, the model Rundoo recommends. The printer doesn't come in the standard terminal package, you order it (with the cash drawer and paper) when you're set up for cash sales.
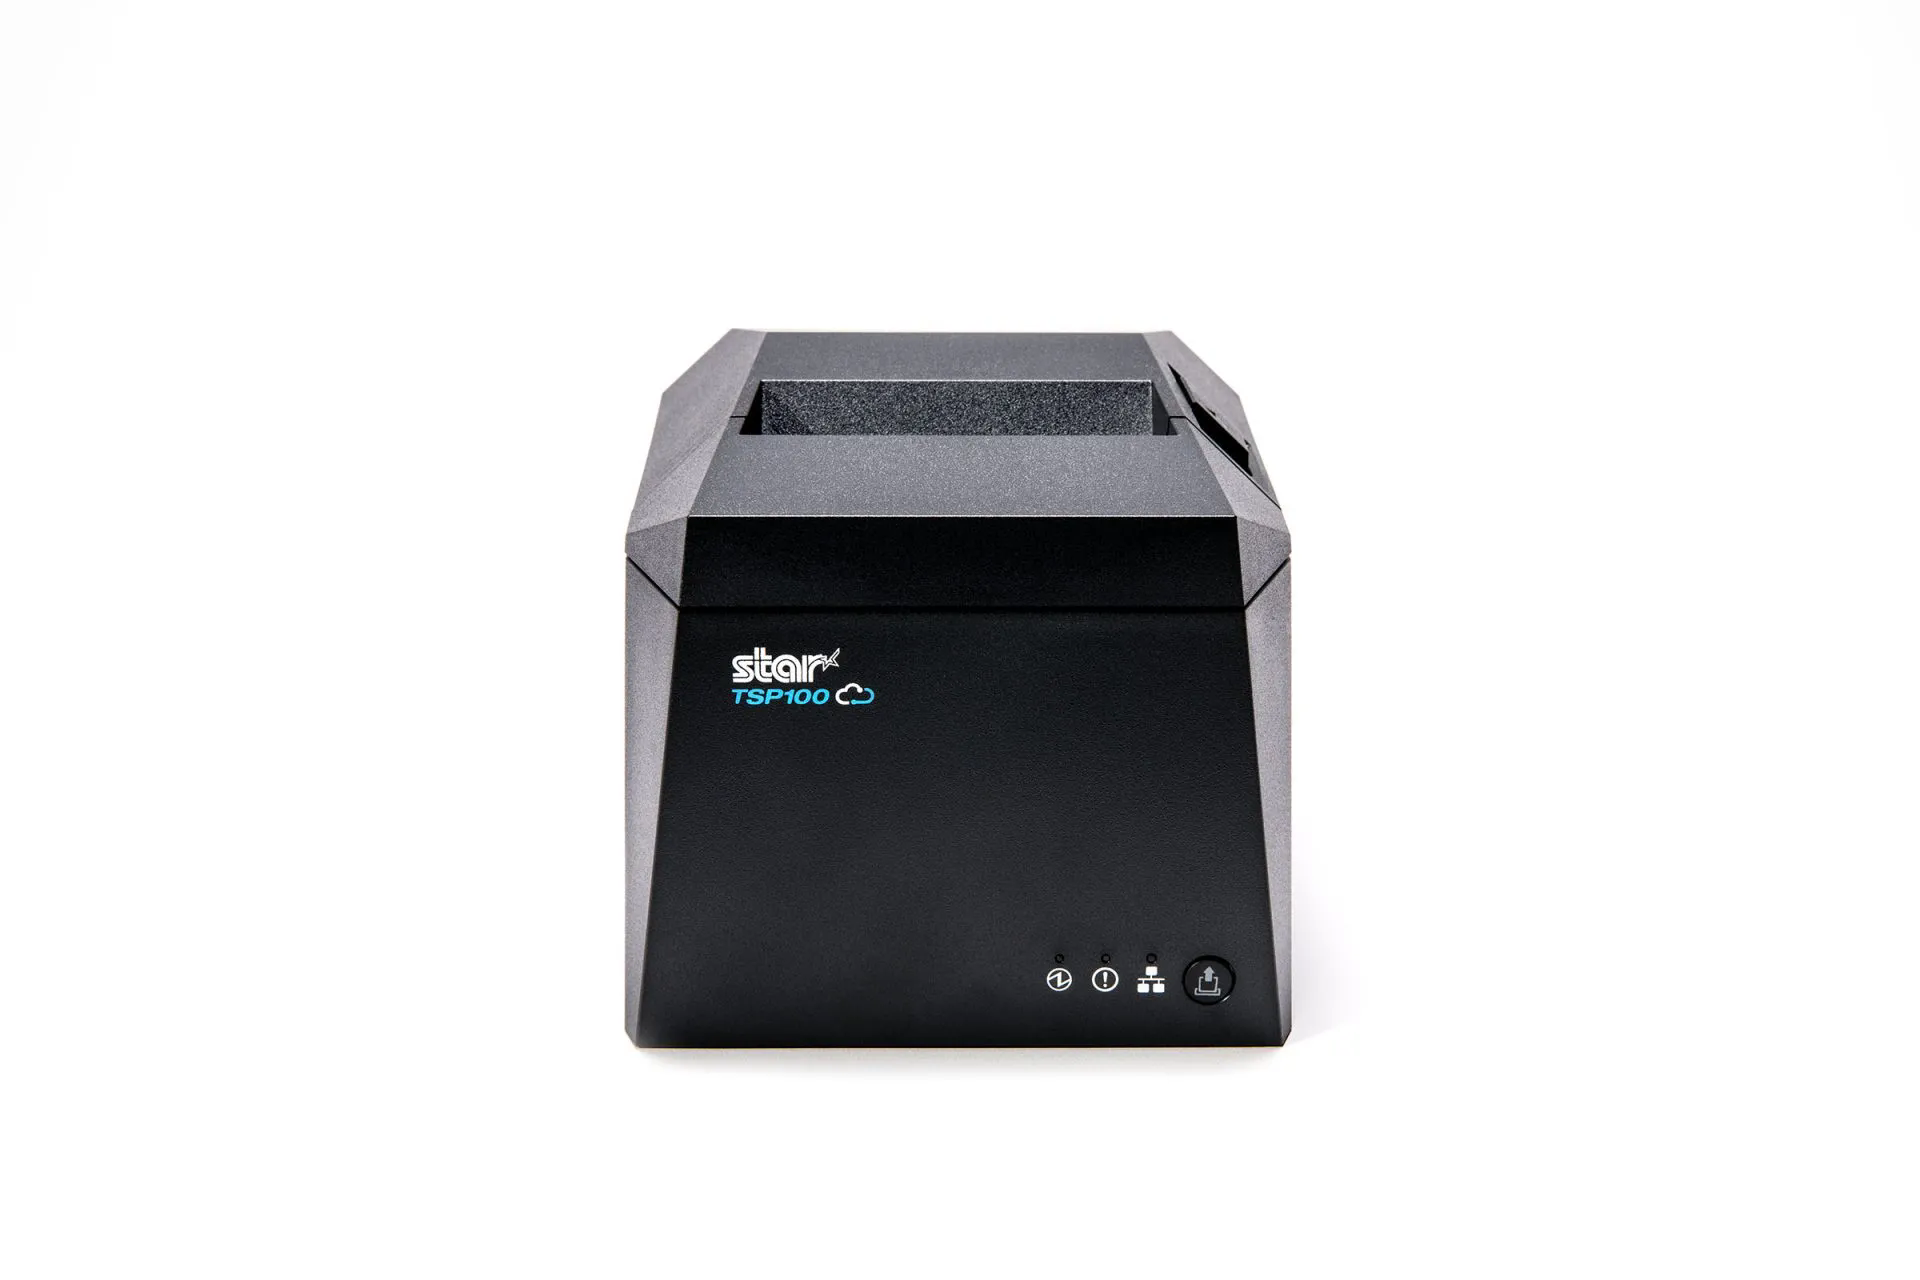
Set the printer on a flat surface near an outlet and your network gear, with room around it to breathe and to feed paper out the front. Tip it up and look underneath, all the connections live in a little bay down there. Plug the round barrel plug into the Power connector, then flip the switch on. A blue light comes on up front. It's alive.
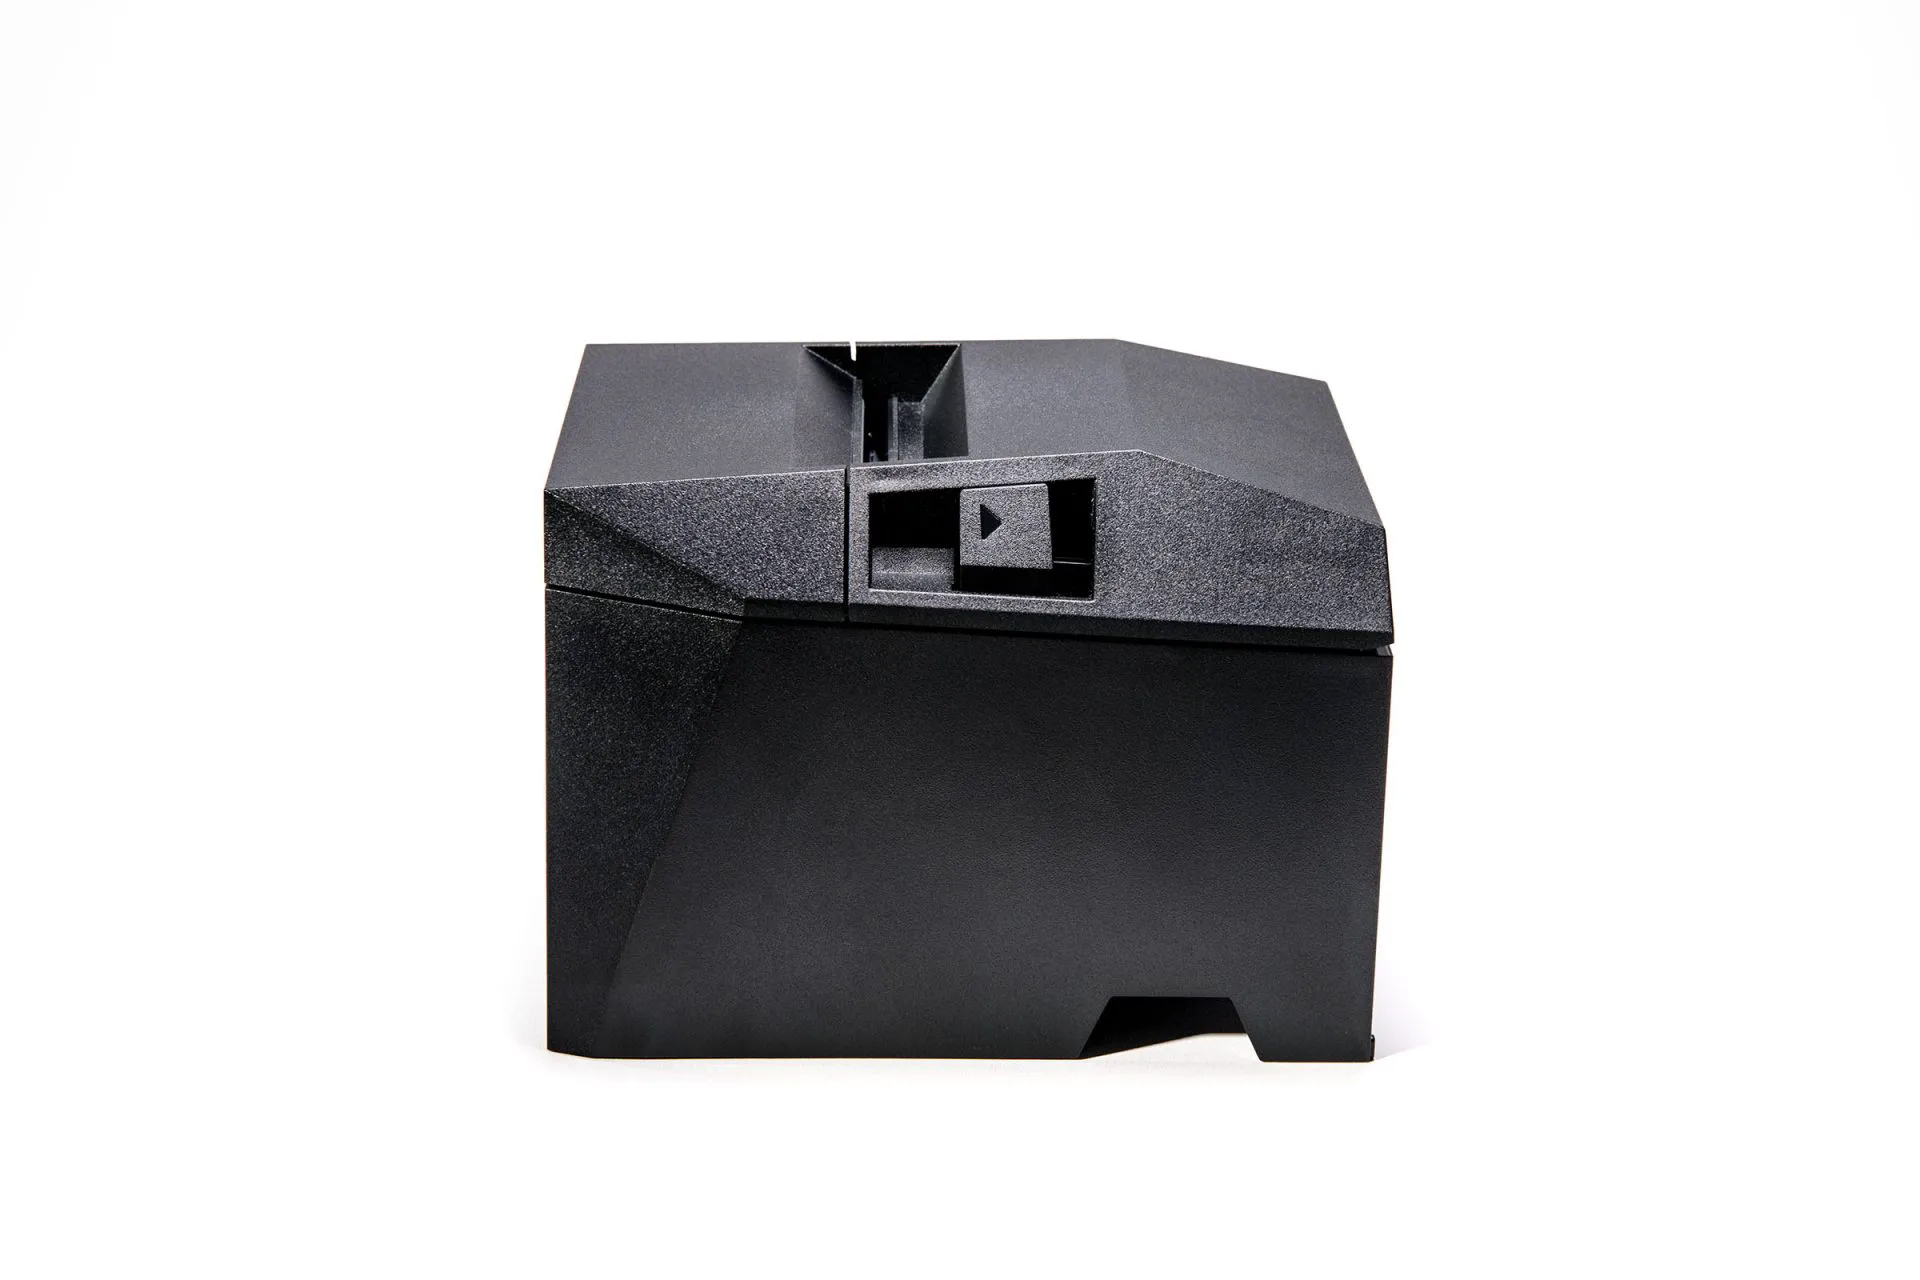
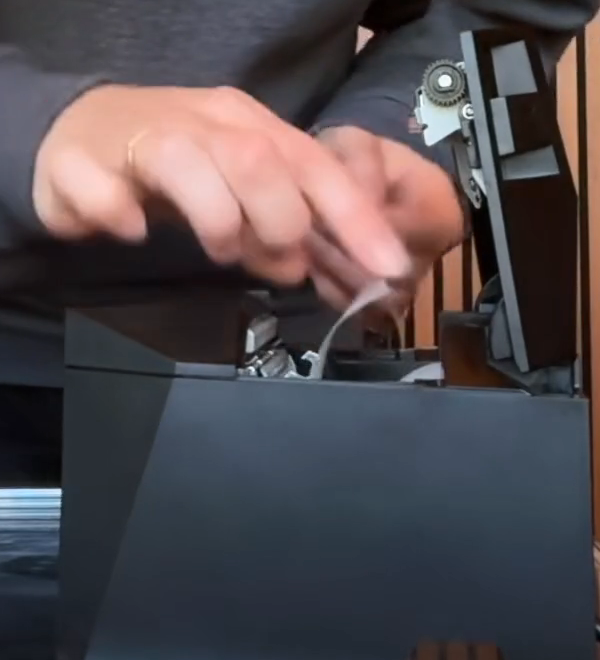
Press the cover-release button on the top right and the lid pops open. Drop the roll straight in, pull a little paper out past the edge, and snap the cover shut. One thing worth knowing: the paper feeds off the bottom of the roll and out the front. So if you ever get a blank receipt, the roll just went in upside down. Flip it and you're good.
Wired is the most reliable, so if you've got an Ethernet port near your register, use this one. (No port nearby? Skip to the Wi-Fi section below.)
Back underneath, find the LAN port right next to the power. Snap the Ethernet cable in, it's the one with the flat clear clip-in end, and it clicks when it's seated. We plug in first on purpose, because that's how the printer grabs an address from your network.
Have the printer print its own settings. Flip the power switch underneath off. Hold down the Feed button on the front, and while you're still holding it, flip the switch back on. Let go, and a self-test sheet prints out. Keep that sheet, we need two things off it.
On the printout, look for the line Current IP Parameter Status. Right under it is the IP address, something like 192.168.1.42. That's the printer's address on your network. Gut check: if that IP is blank or reads 0.0.0.0, the printer didn't get on the network, so reseat the Ethernet cable and reprint.
Here's the part people don't expect: you don't need an app. On any device that's on the same network, type that IP address straight into the browser bar and hit go. The printer's own settings page opens right up. Log in with password public, and when it asks you to set a new one, use rundoo (lowercase) so it matches Rundoo's recommended setting.
This is how the printer talks to Rundoo, and it's the one place a wrong value bites you later. Open CloudPRNT in the menu and set three things:
Then Save. The printer reboots itself, so give it a minute to come back.
Last hardware step. Flip the printer over and read the label on the back. Send your Implementation Manager (or Rundoo Support) either the MAC address or the serial number, one is plenty, and we'll tie this exact printer to your store. On a wireless printer, use the LAN MAC from the self-test printout, not the WLAN MAC in the app, they're different addresses.
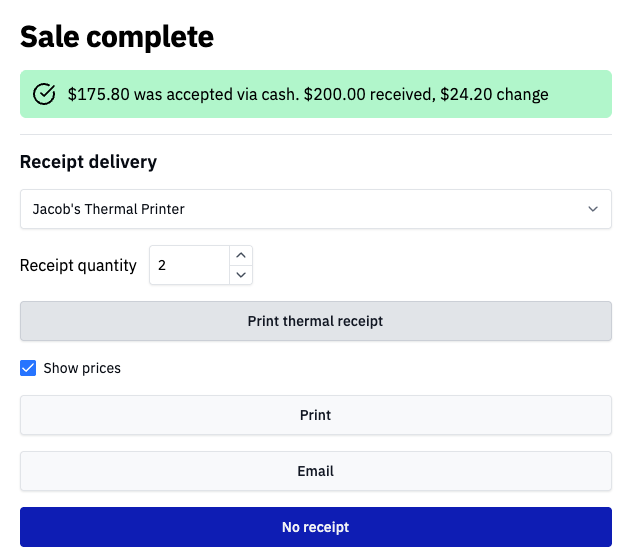
Moment of truth. In Rundoo, ring up a quick test sale (a non-inventory item at $0.01 works). On the receipt-printing screen, pick your thermal printer and choose Print thermal receipt. A receipt should slide out the front. Refund the test sale afterward to keep accounting clean.
Same printer, same finish line. The only thing that changes is how it gets on your network.
Same move as wired, just with nothing in the LAN port: hold Feed, flip the power on, and let go once it starts printing. On a Wi-Fi printer, that printout comes with its own little temporary network baked in, called Simple AP mode. It's just the printer handing you a way to reach it before it's on your real Wi-Fi.
On the printout, find the Wireless LAN section. You want two things: the network name (SSID), usually something like Star Micronics and a few digits, and the encryption key right below it, which is often the last few characters of the MAC address. Jot both down.
On your phone or laptop, open Wi-Fi settings and join that Star Micronics network using the key from the printout. For a minute you're connecting straight to the printer itself. That's normal, that's the whole point of the temporary network.
Open the Star Quick Setup Utility app (or browse to the printer's 192.168 address from the printout). Pick your actual store Wi-Fi from the list, type its password, and save. Make sure it's the same network your registers use, if Rundoo and the printer land on different networks they can't talk, and that's the most common cause of "set up but not printing."
The printer reboots onto your real network and the temporary Wi-Fi disappears on its own. From here it's identical to wired: open the printer in your browser, turn on CloudPRNT, paste the Server URL, set polling to 1, and Save. Send your guide the LAN MAC or serial, then run a test print. Same finish line.
CloudPRNT Server URL
device.stario.online/cloudprnt/rndo
Full: https:// in front. Older setups may use a different URL, ask Support.
CloudPRNT password
rundoo
Default is "public"; change it to "rundoo" (lowercase).
Polling Time
1 second
How often the printer checks Rundoo for a receipt.
Feed button
Hold while powering on
Prints the self-test / network config sheet. A quick tap just feeds paper.
These cover the setup snags people actually hit. For issues that show up after the printer is already paired and working, see Printer troubleshooting.
Most common fixes
Good to know